Accordion
The Accordion Page Type (sometimes called an Accordion Sorted List) allows you to organize content into neat, clickable sections that expand and collapse as users interact with them.
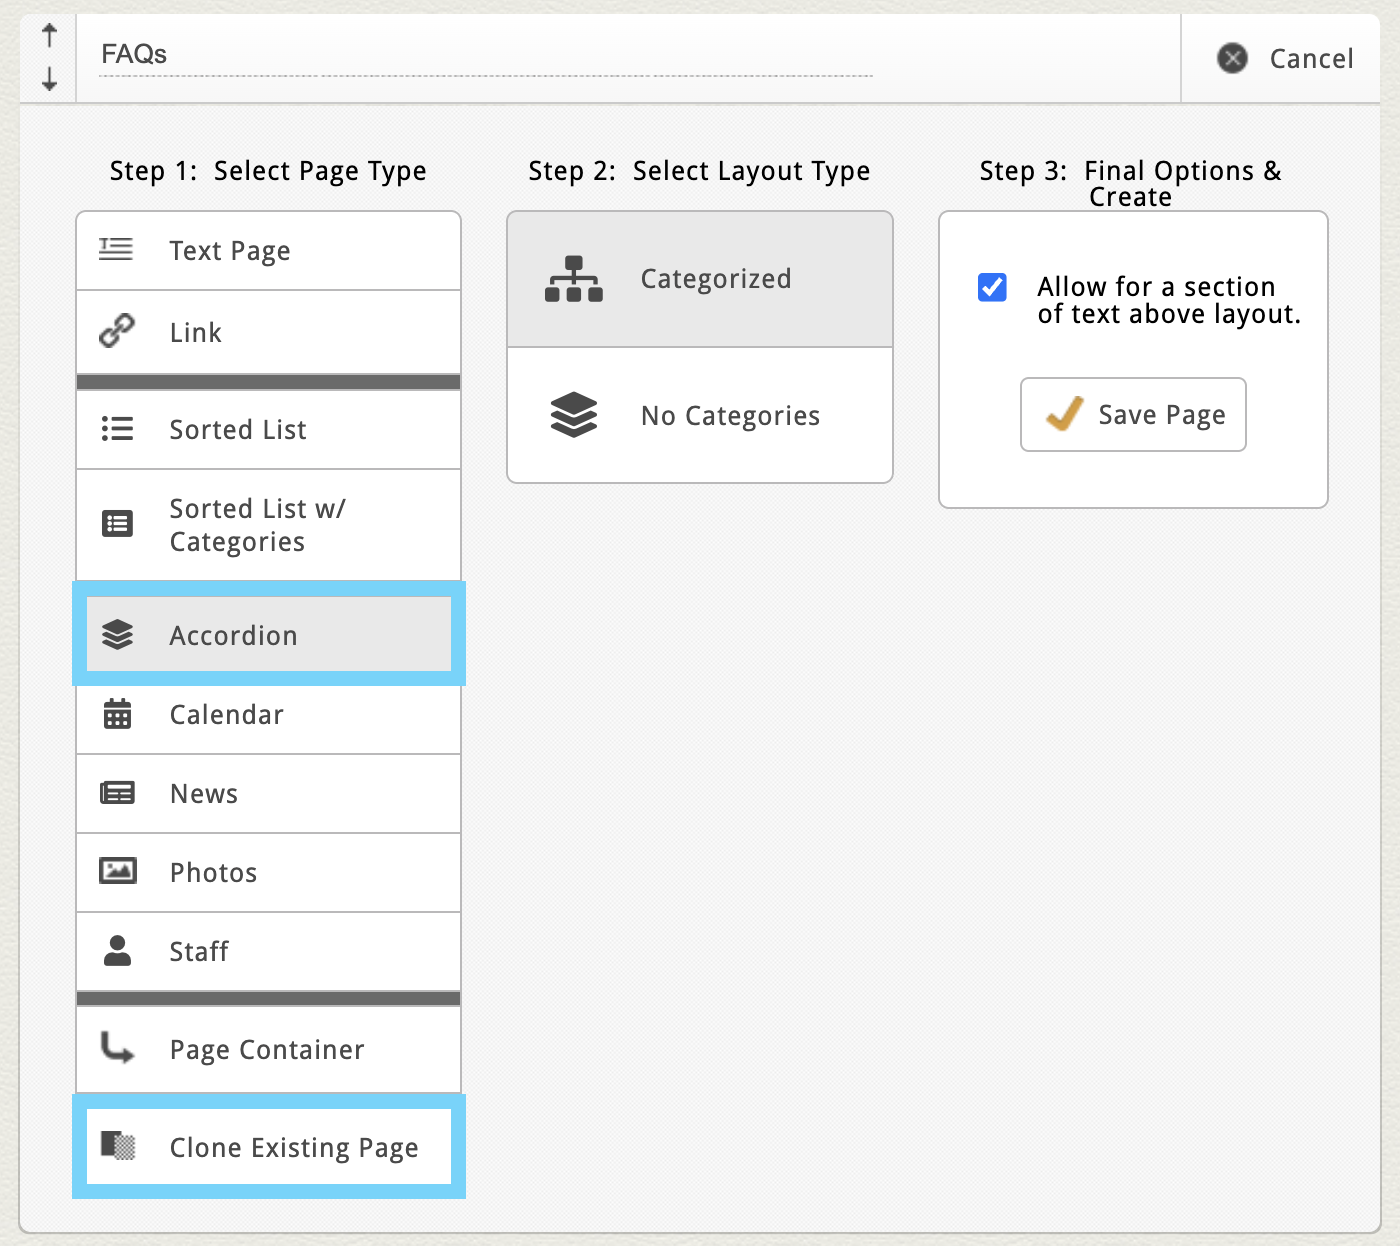
Note: Not all websites have an Accordion page type in their Add New Page menu. If you don't, but you have a page on your website with this functionality, use the "Clone Page" option and select the existing Accordion page from your current sitemap. If you do not have an Accordion Page Type option in your site at all but would like to add one, reach out to clientservices@cybernautic.com to discuss your options.
Creating Your Accordion Page
From your Add New Page menu, choose the Accordion Page Type (or clone an existing Accordion page).
Depending on your site’s setup, you may see one or both of these layout options:
-
Categorized
-
No Categories
Once created, you'll typically see a few familiar default blocks:
-
Custom Page Settings – what you see here is always unique to your site’s layout
-
Introductory Text Area – perfect for summaries or page introductions
-
Accordion Block – where all of your collapsible content lives
Managing Accordion Items
Adding New Items
If your Accordion Block is empty, click the “Add New Item” button in the top-right corner.
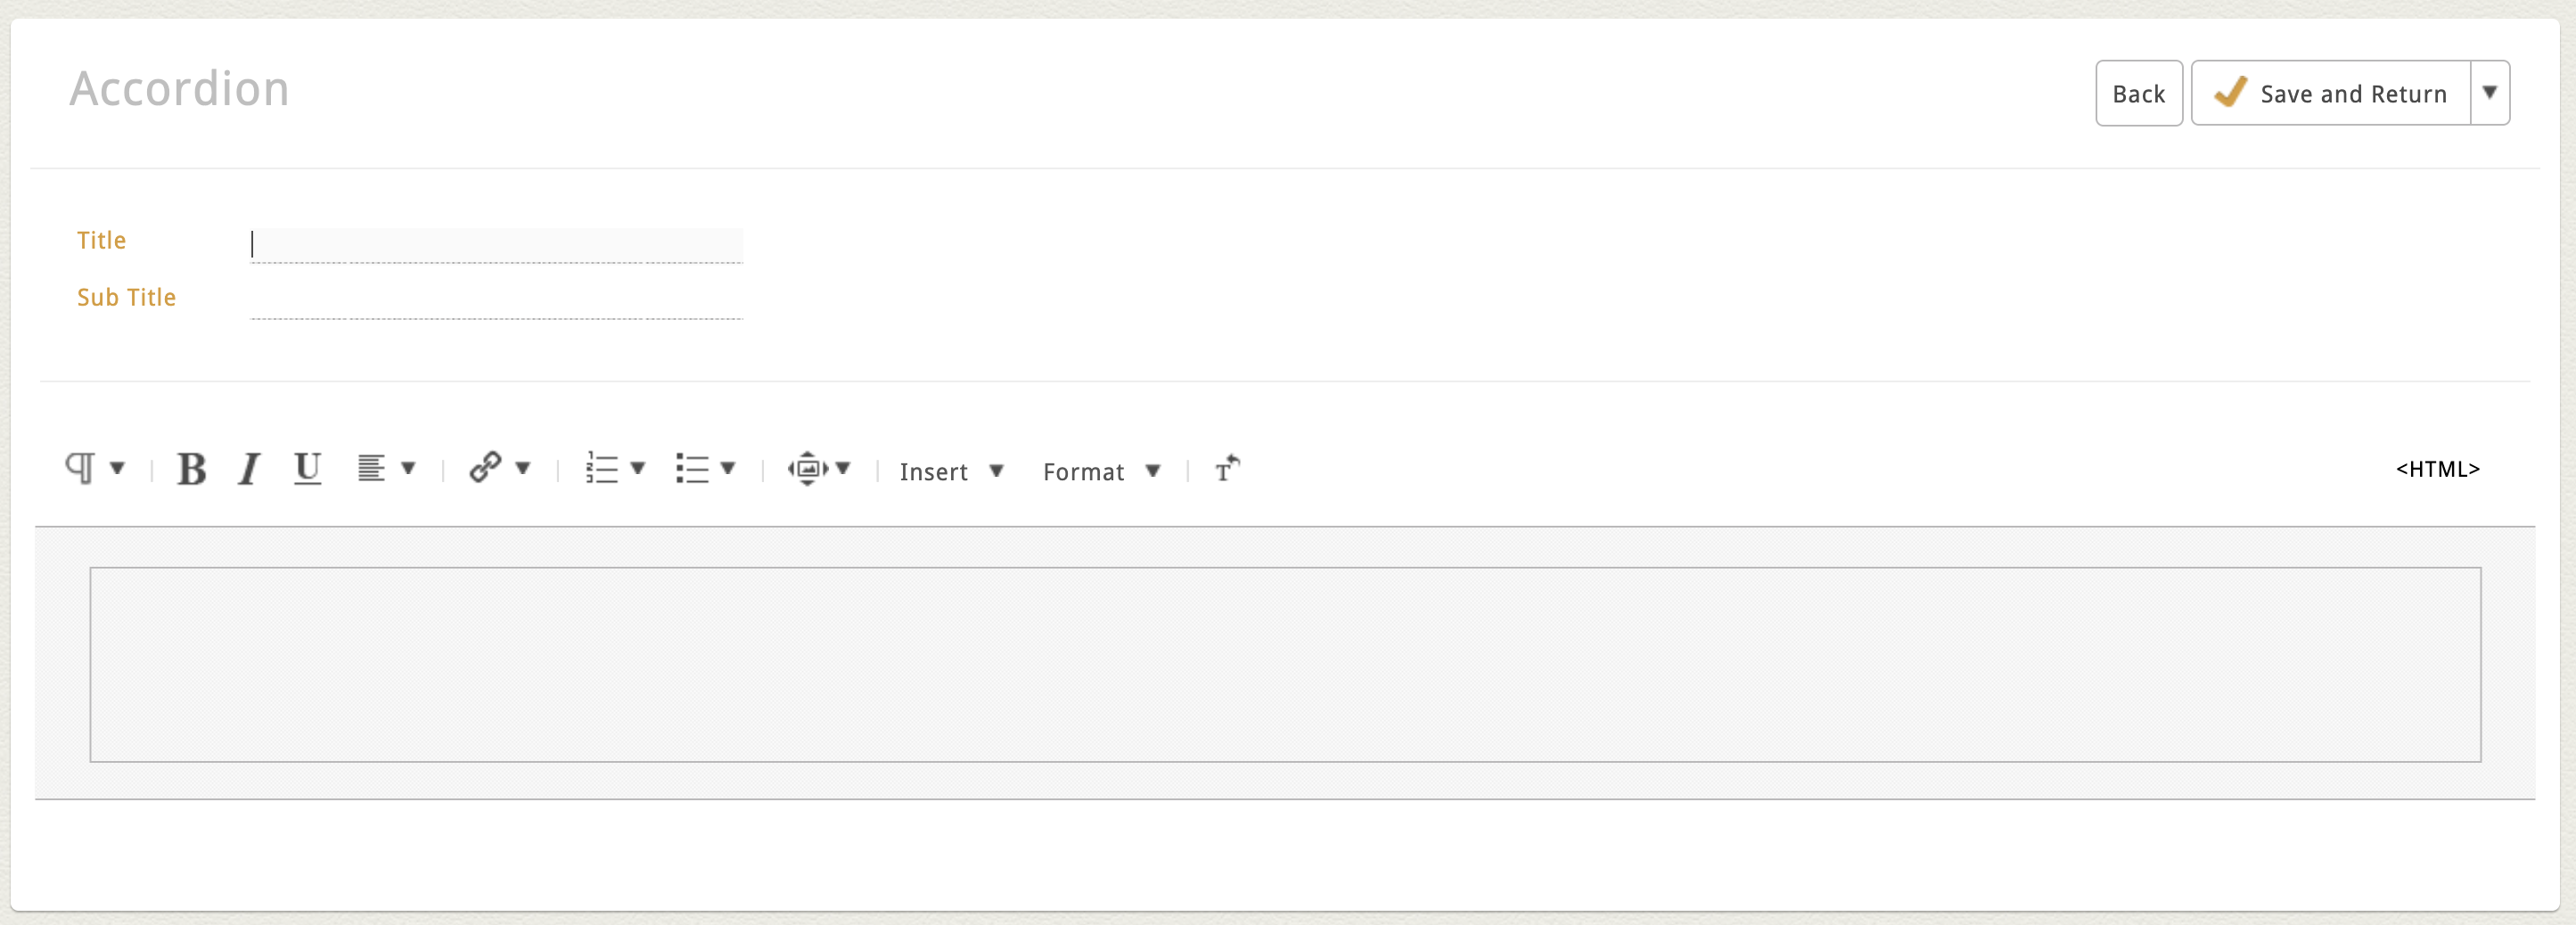
Your specific Accordion layout may have more or less fields, but each item typically includes the following:
-
Title – the main heading of the accordion item that users will click to expand
-
Subtitle (optional) – a smaller line of text beneath the title
-
Dynamic Text Area – this is where your expanded content goes
For an FAQ page, for example:
-
Put the question in the Title field.
-
Put the answer in the Dynamic Text Area.
Click "Save and Return" to add your item.
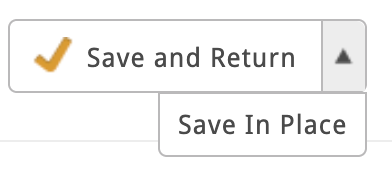
Tip: If you're working on an item with a lot of content, switch the "save and return" button to "save in place" to make it easier to save your changes without returning to the Accordion Block flex grid view.
|
 |
Modify, Sort or Delete Items
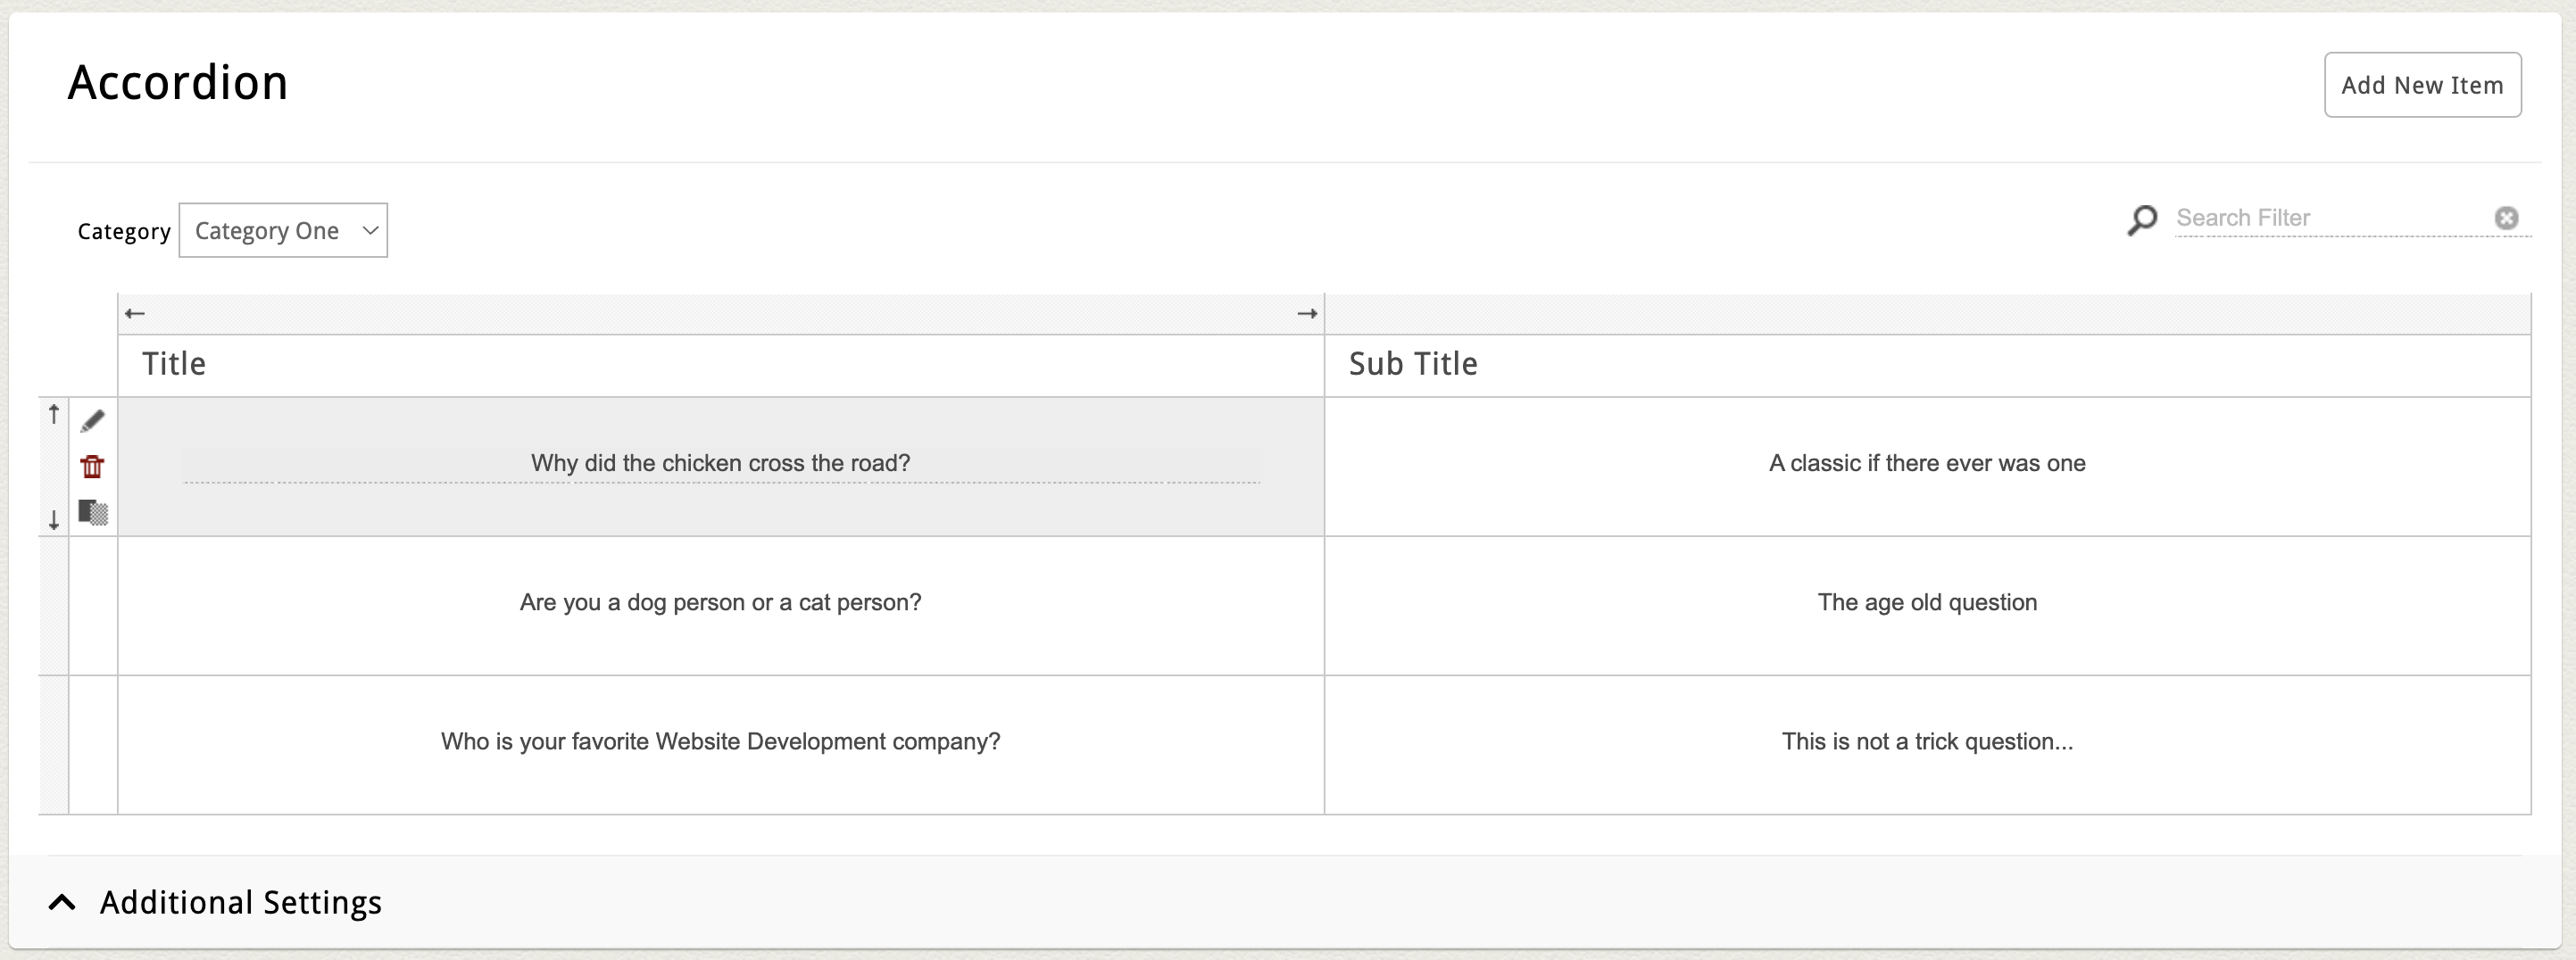
Once your items appear in the flex grid (this is what we call the table of items in the Accordion block), you can:
-
Click directly into a field to make quick edits. Click out of the field and watch for the orange flash confirming autosave.
-
Hover over an item to access action icons:
-
Edit (Pencil Icon) – opens the item's full edit screen
-
Delete (Trash Can Icon) – deletes the item entirely
-
Clone (Double Rectangle Icon) – duplicates the item (great for reuse or creating an easy starting point for another similar item)
-
-
To sort your items in a different order, move your cursor to the far left of the item until you see the up and down arrows. Click and drag an item into the preferred order.
Additional Settings
Some Accordion blocks include extra configuration options near the bottom of the page under the title "Additional Settings"—such as:
-
Where the expand/collapse arrows appear
-
Custom block headings
-
Layout alignment or padding controls
These settings vary by site and some sites may not have a need for additional settings. If you’re curious about customization options, reach out to ClientServices@Cybernautic.com.
Using Categories
If your Accordion supports Categories, you’ll see a second block labeled Categories below the main Accordion Block.
Each category typically includes:
-
A Title
-
And sometimes an Image or Description, depending on your layout
For example, you could create two categories for your FAQ page:
-
Residential
-
Commercial
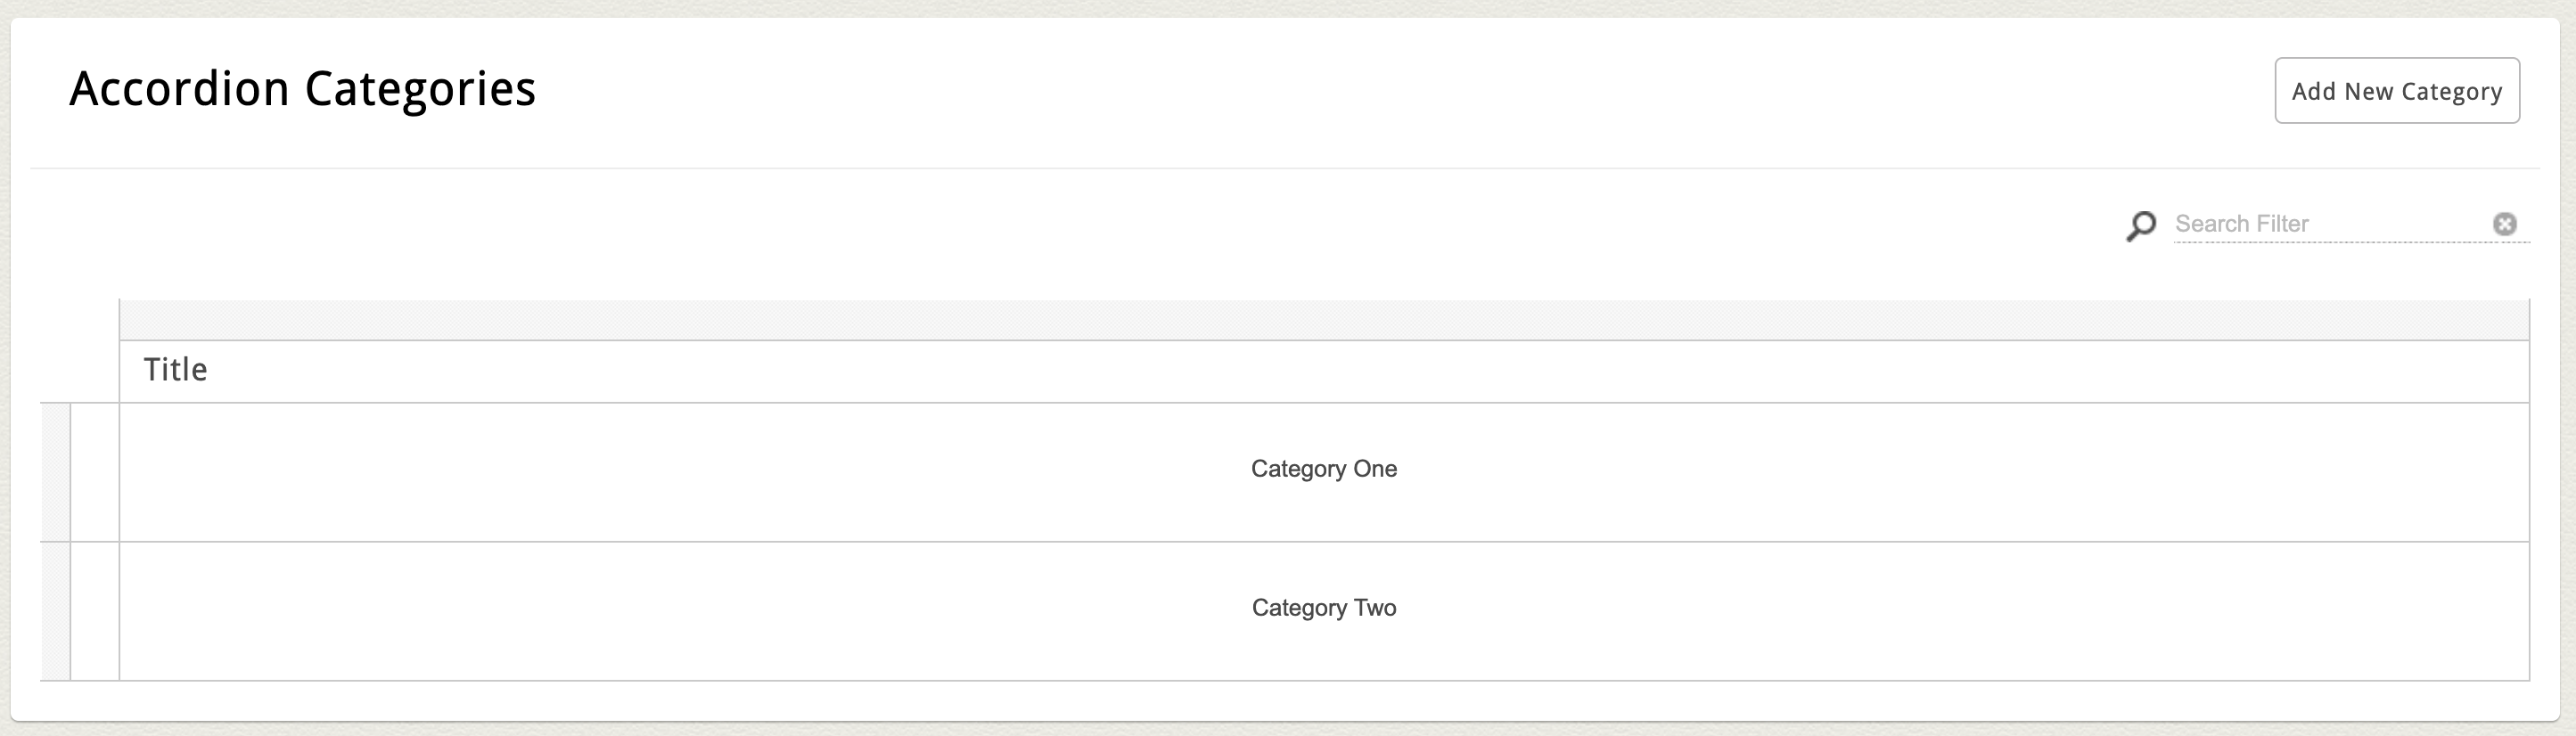
Add a Category
Note: If your Accordion Block supports categories but there are currently no categories added, all accordion items in the main block will automatically be grouped as "Uncategorized".
To add a new category, click the "Add New Category" button in the top right corner of the category block. Enter the category title (as well as any other required fields) and click "Save and Return".
Assign a Category
After saving a new category, the category dropdown select menu in the flex grid and an individual item's profile page will show the new category as a option in the dropdown.
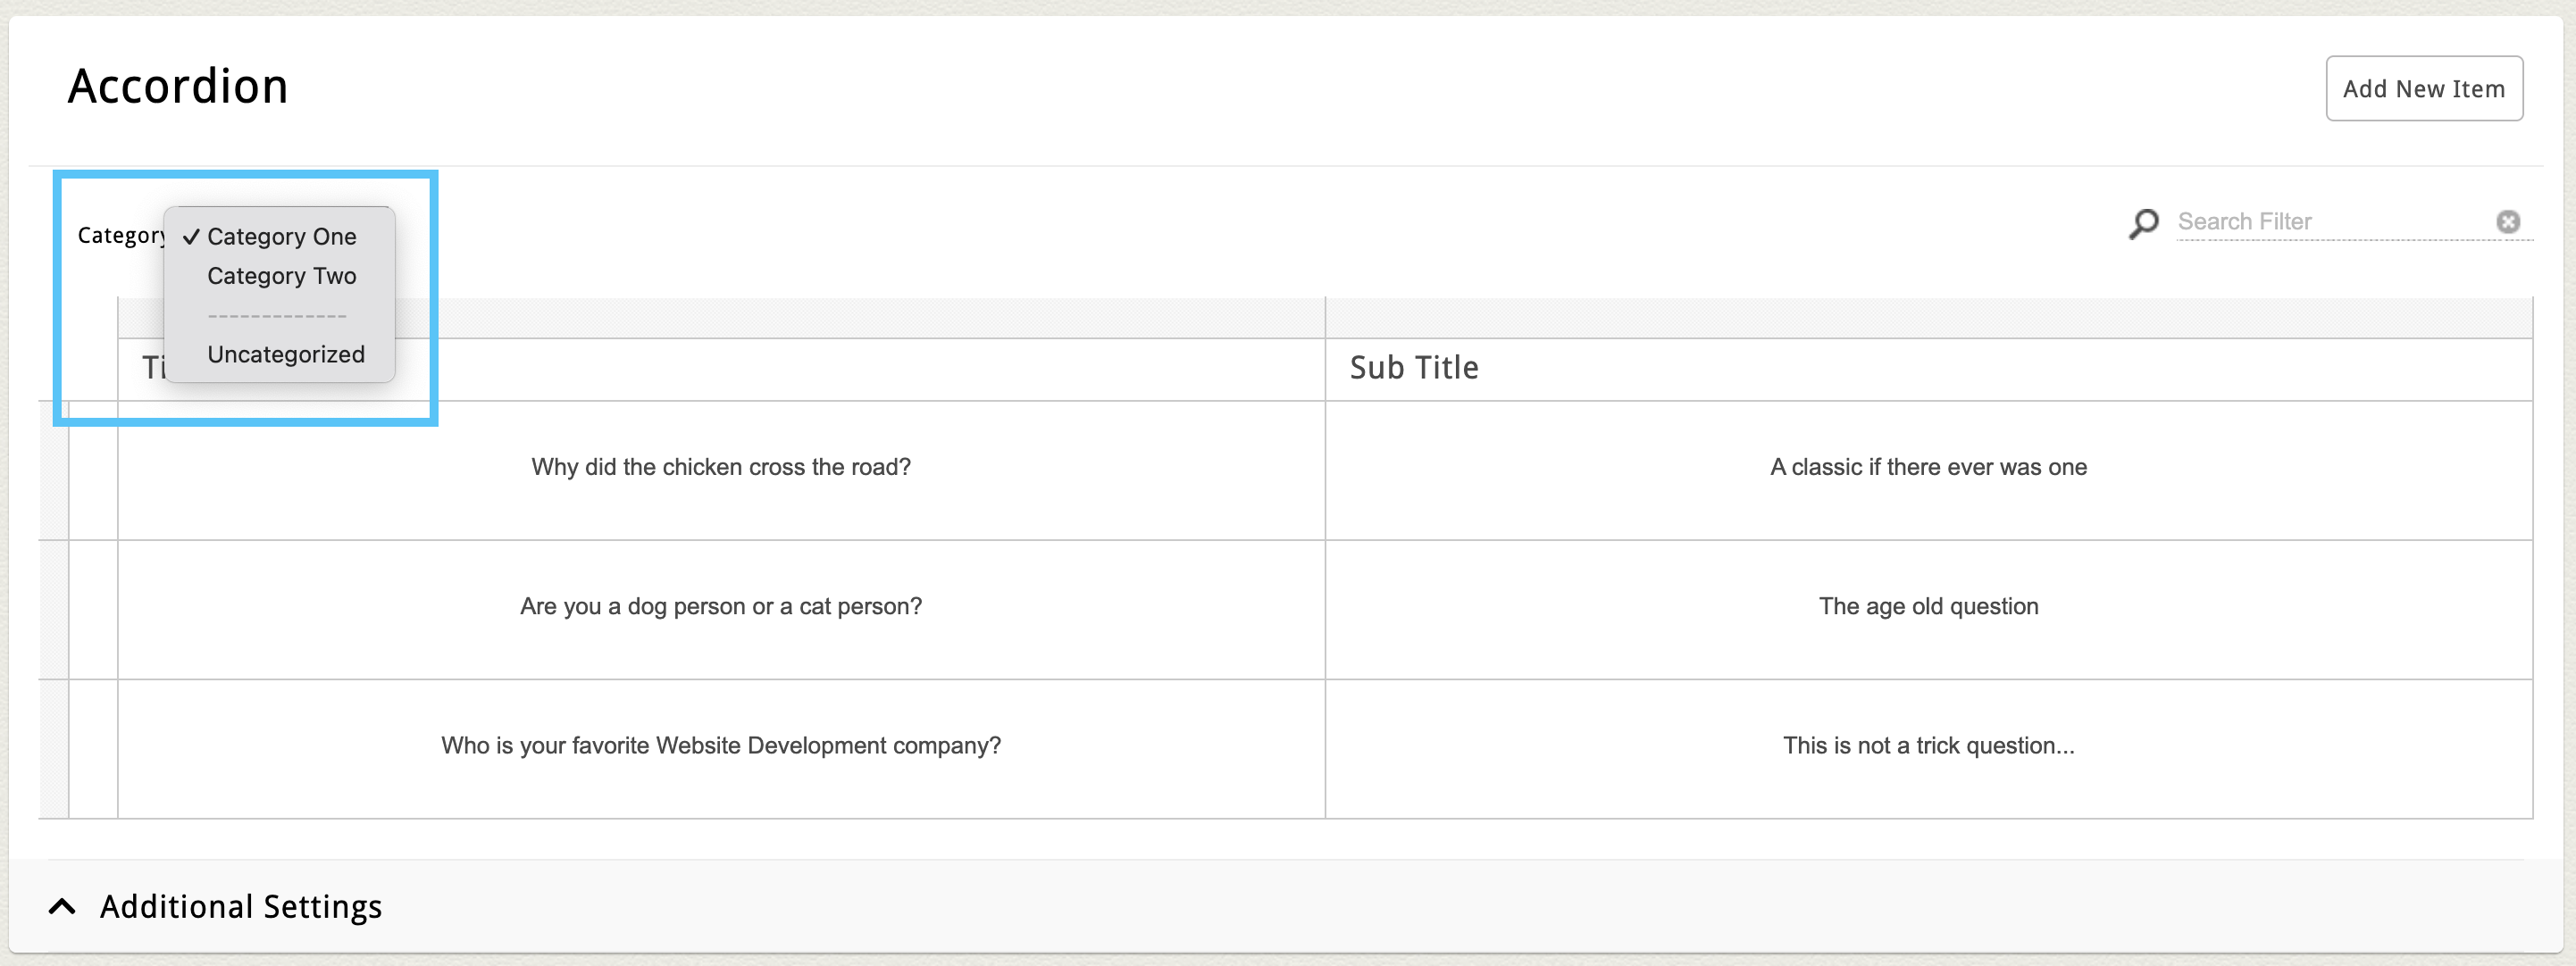
To assign a category to an uncategorized item, or reassign from one category to another, simply click the item's edit icon to open the full edit screen, select the appropriate category from the dropdown list and click "Save and Return" to save your changes.
Some websites will allow you to manage the item's assigned category in the flex grid. If you'd like this option, don't hesitate to reach out and we can customize your flex grid edit columns.