Calendar
The Calendar Page Type is designed to make it easy for your organization to display events in a clean, flexible way.
Creating Your Calendar Page
From your Add New Page menu, choose the Calendar Page Type, give your page a name and click "Save Page". For a detailed breakdown of how to add a new page to your website, check out this article.
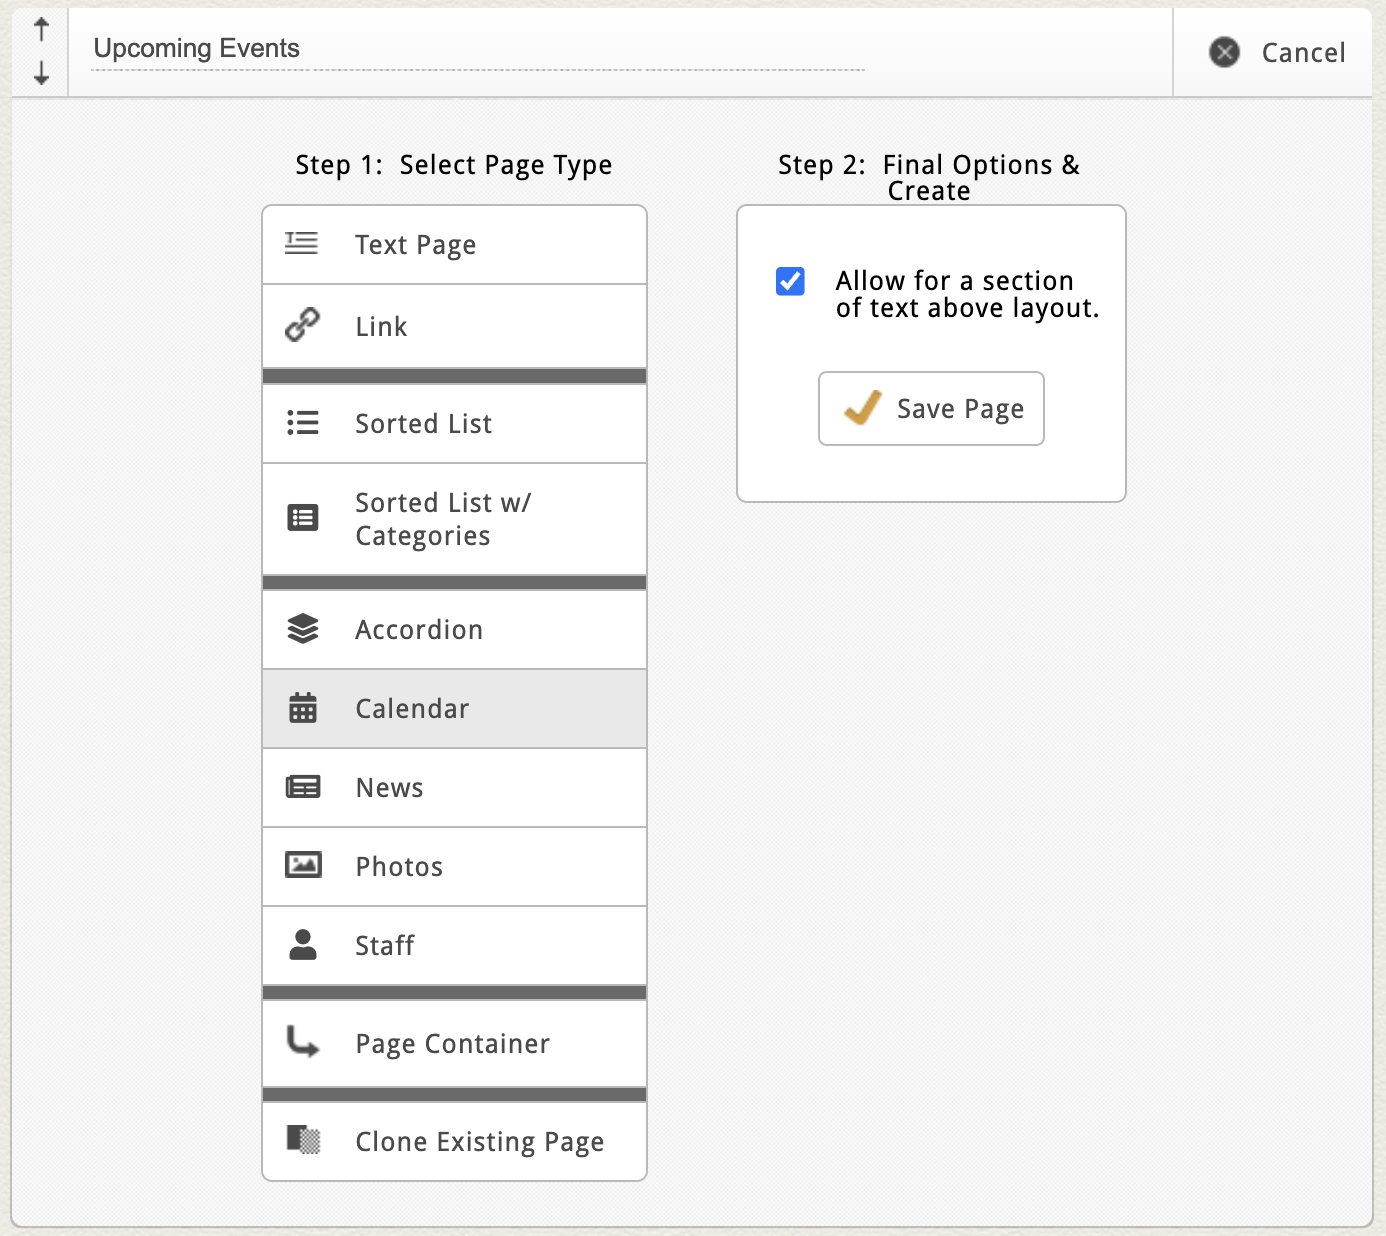
Once created, you'll typically see a few familiar default blocks:
-
Custom Page Settings – what you see here is always unique to your site’s layout.
-
Introductory Text Area – perfect for page summaries or instructions.
-
Calendar Block – where you’ll manage all your events.
If there are no events yet, click the prompt to Add a New Event or use the “Add New Event” button in the top right corner.

Adding a New Event
When you add an event, you’ll be taken to the Event Edit Screen where you can enter all event details. Your calendar may include custom fields unique to your organization, but most include the following:
Event Details
-
Event Profile Photo – Click the photo icon (+) to open your File Manager. Select an existing image or upload a new one. For a full walkthrough of the File Manager, check out this article.
-
Title & Subtitle – The main name and subheading for your event. Some calendars won't include a subtitle field.
-
Tags or Categories – Some calendars use dropdowns for categories (in this case, category titles are managed in a separate block. See details regarding categories lower in this article); others use keyword fields for tagging. If you’re unsure which your site uses, contact our team for clarification.
Date & Time
-
Start Date / Time and End Date / Time – Define when your event begins and ends. Event times should be added in Central Standard Time unless you've changed your site's Locale to a different timezone. For more details about this, check out our Settings Overview article.
-
All-Day Event – Check this box if your event doesn’t have a specific time.
Recurrence Settings
If your event repeats regularly, use the Recurrence Settings section.
You can select:
-
Daily – with options to set the daily interval (i.e. every 3 days) or select weekdays only.

-
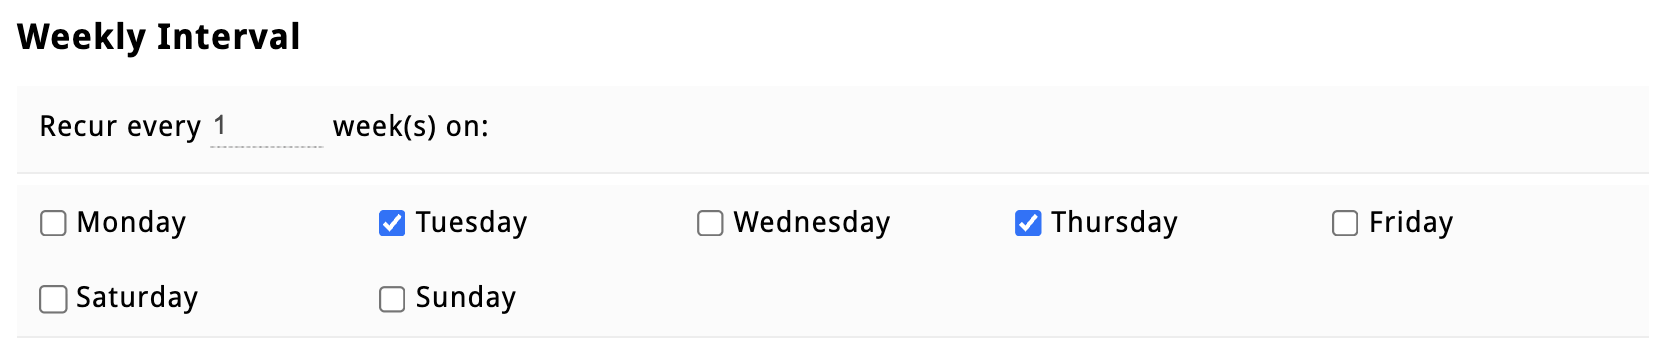
Weekly – with options to set the weekly interval and choose specific days of the week to repeat (e.g., Tuesdays and Thursdays).
-
Monthly – by date (e.g., 15th) or day (e.g., second Thursday every other month).

-
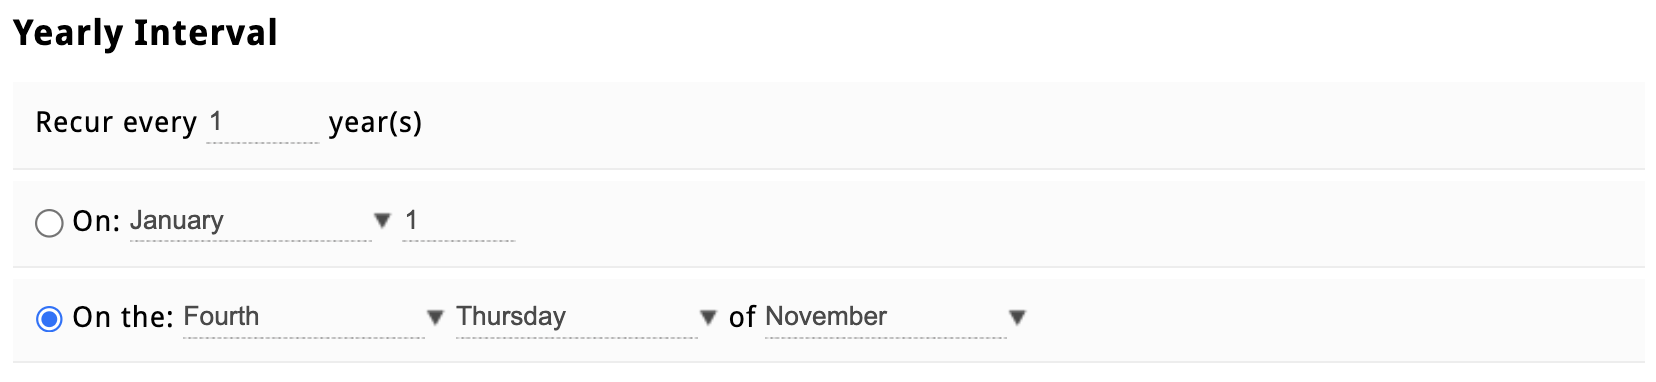
Yearly – by date (e.g., July 4) or weekday pattern (e.g., Fourth Thursday in November).
You can also:
-
Define how long the recurrence lasts (by date or number of occurrences).
-
Exclude specific dates by unchecking them in the list.
-
Add notes for individual skipped dates (e.g., “Office Closed”).
Tip: Editing recurring events will edit all occurrences, so if you need to make unique changes to one date in a recurring series, clone the event and edit the copy for that date, then exclude that date from the original recurrence.
Location Fields
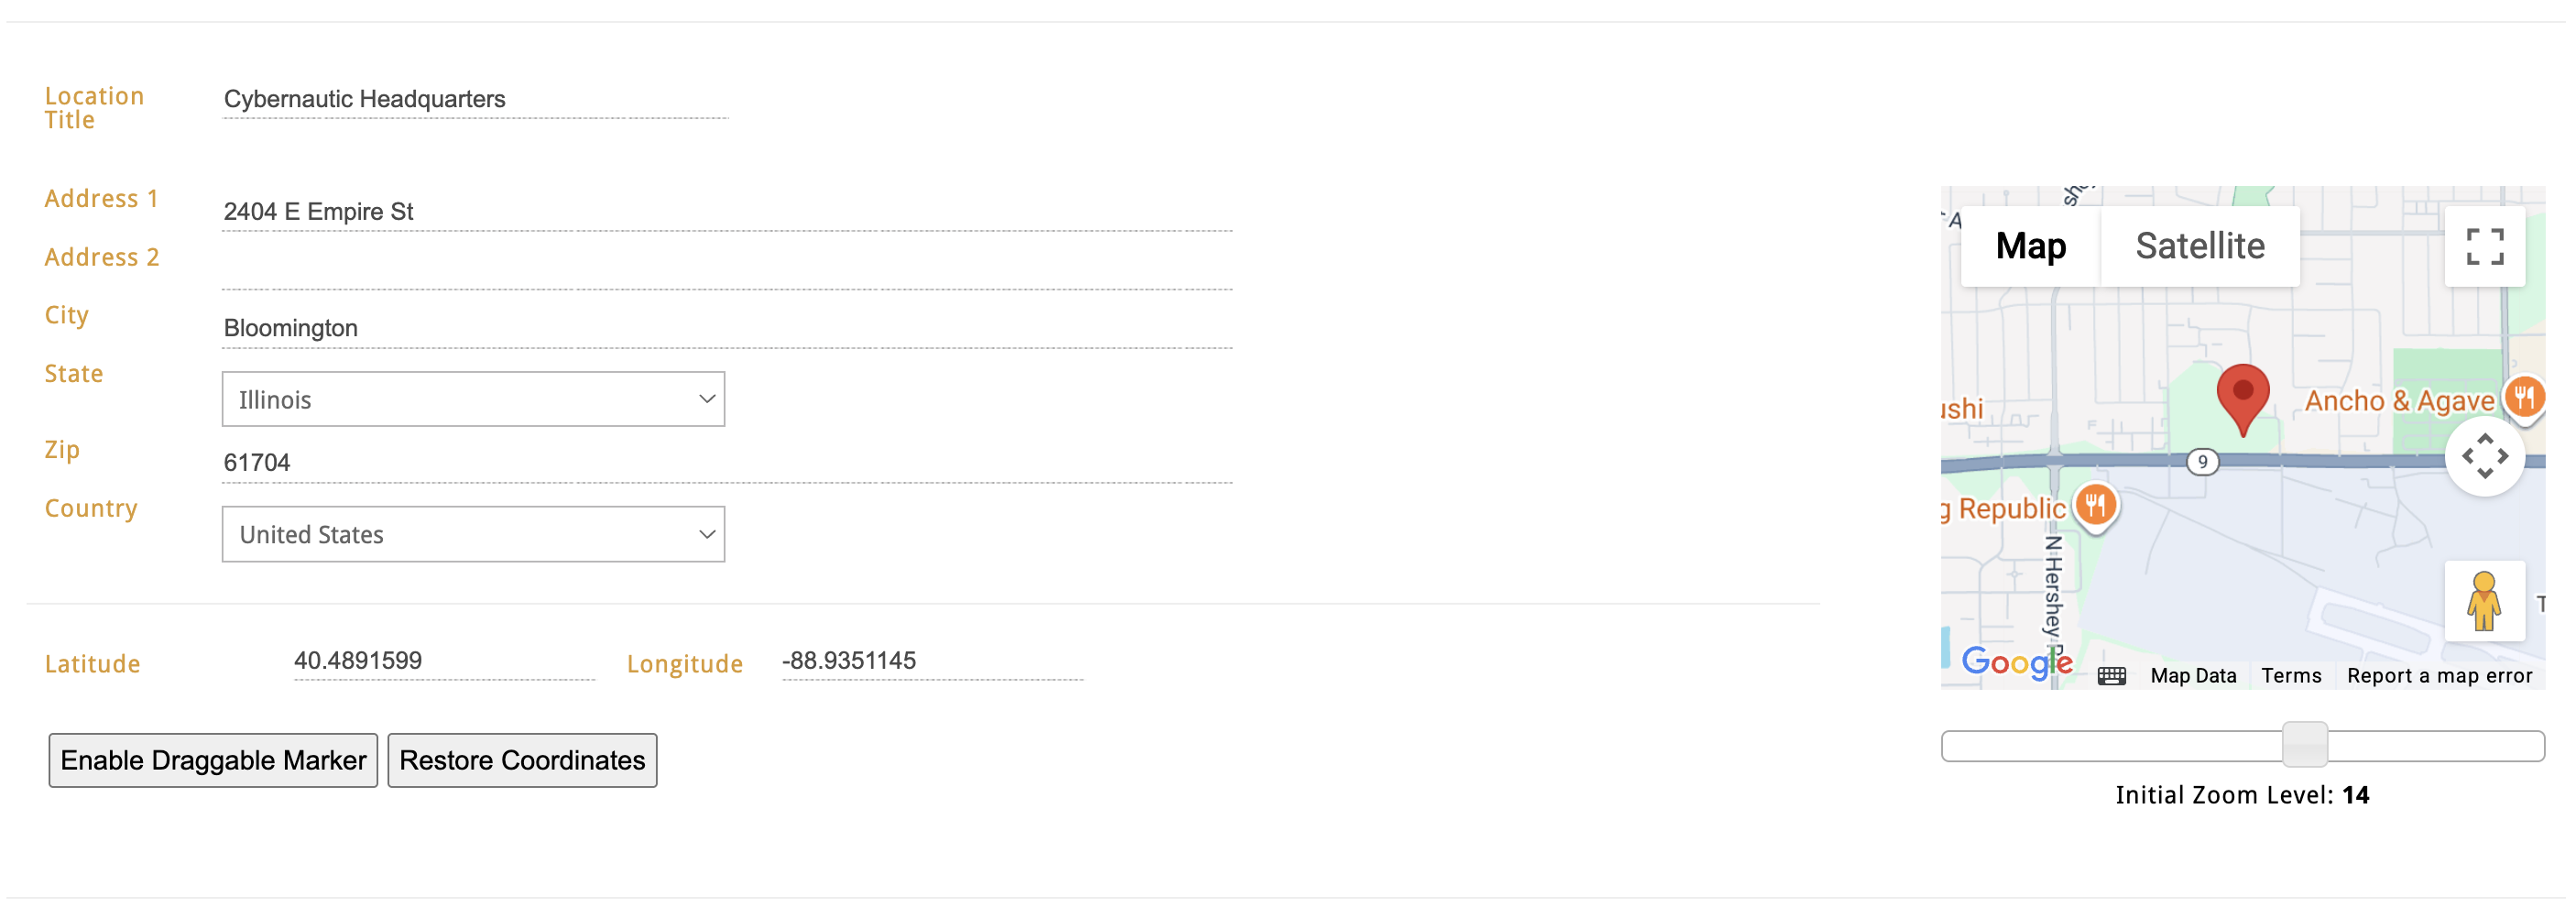
Use these fields to define where your event takes place.
-
Location Name – The title of the venue or location.
-
Address Fields – Include Address 1, Address 2, City, State, Zip, and Country.
-
Once filled in, Latitude and Longitude will auto-populate. You can manually edit the latitude and longitude if needed.
-
Some sites also include a draggable map marker to fine-tune pin placement visually.
Note: If your site doesn’t include the draggable marker feature but you’d like this feature, reach out to clientservices@cybernautic.com.
Event Description Fields
Use these areas to describe your event in more detail:
-
Preview Text – Displays in list view layouts (not available in 30-day grid view).
-
Dynamic Text Area – This is your main event content area. Use it for details like what to expect, directions, downloadable flyers, or registration links. Take a deeper dive into all the ways to format your content in the Styling Your Content article here.
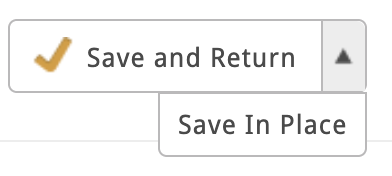
When you've enriched all of your event details, click the "Save and Return" button in the top-right corner to save your new event.
|
Tip: If you're working on an event with a lot of information in the description and you want to save your progress, switch the "save and return" button to "save in place" to make it easier to save your changes without returning to the Accordion Block flex grid view. |
 |
Managing Events in the Calendar Block
Once you’ve saved your first event, it will appear in the Calendar Block’s flex grid.
Here’s how to manage events from this view:
-
Click directly into fields shown in the flex grid (like Title or Subtitle) to make quick edits. Click anywhere outside the field to save — watch for the brief orange flash confirming autosave.
-
Hover over an event to reveal action icons:
-
Edit (Pencil Icon) – open full event details.
-
Delete (Trash Can Icon) – remove the event.
-
Clone (Double Rectangle Icon) – duplicate the event (useful for repeating templates).
-
At the top of the block, you’ll also see:
-
A Start Date Filter to view events by month and year.
-
A Search Bar to locate events by title or keyword.

Note: All instances of a recurring event appear tinted in blue. And remember, editing a recurring event edits ALL occurrences. To make changes to a single occurrence: clone the original recurring event, make your changes and save, and then exclude that date from the original recurring event.
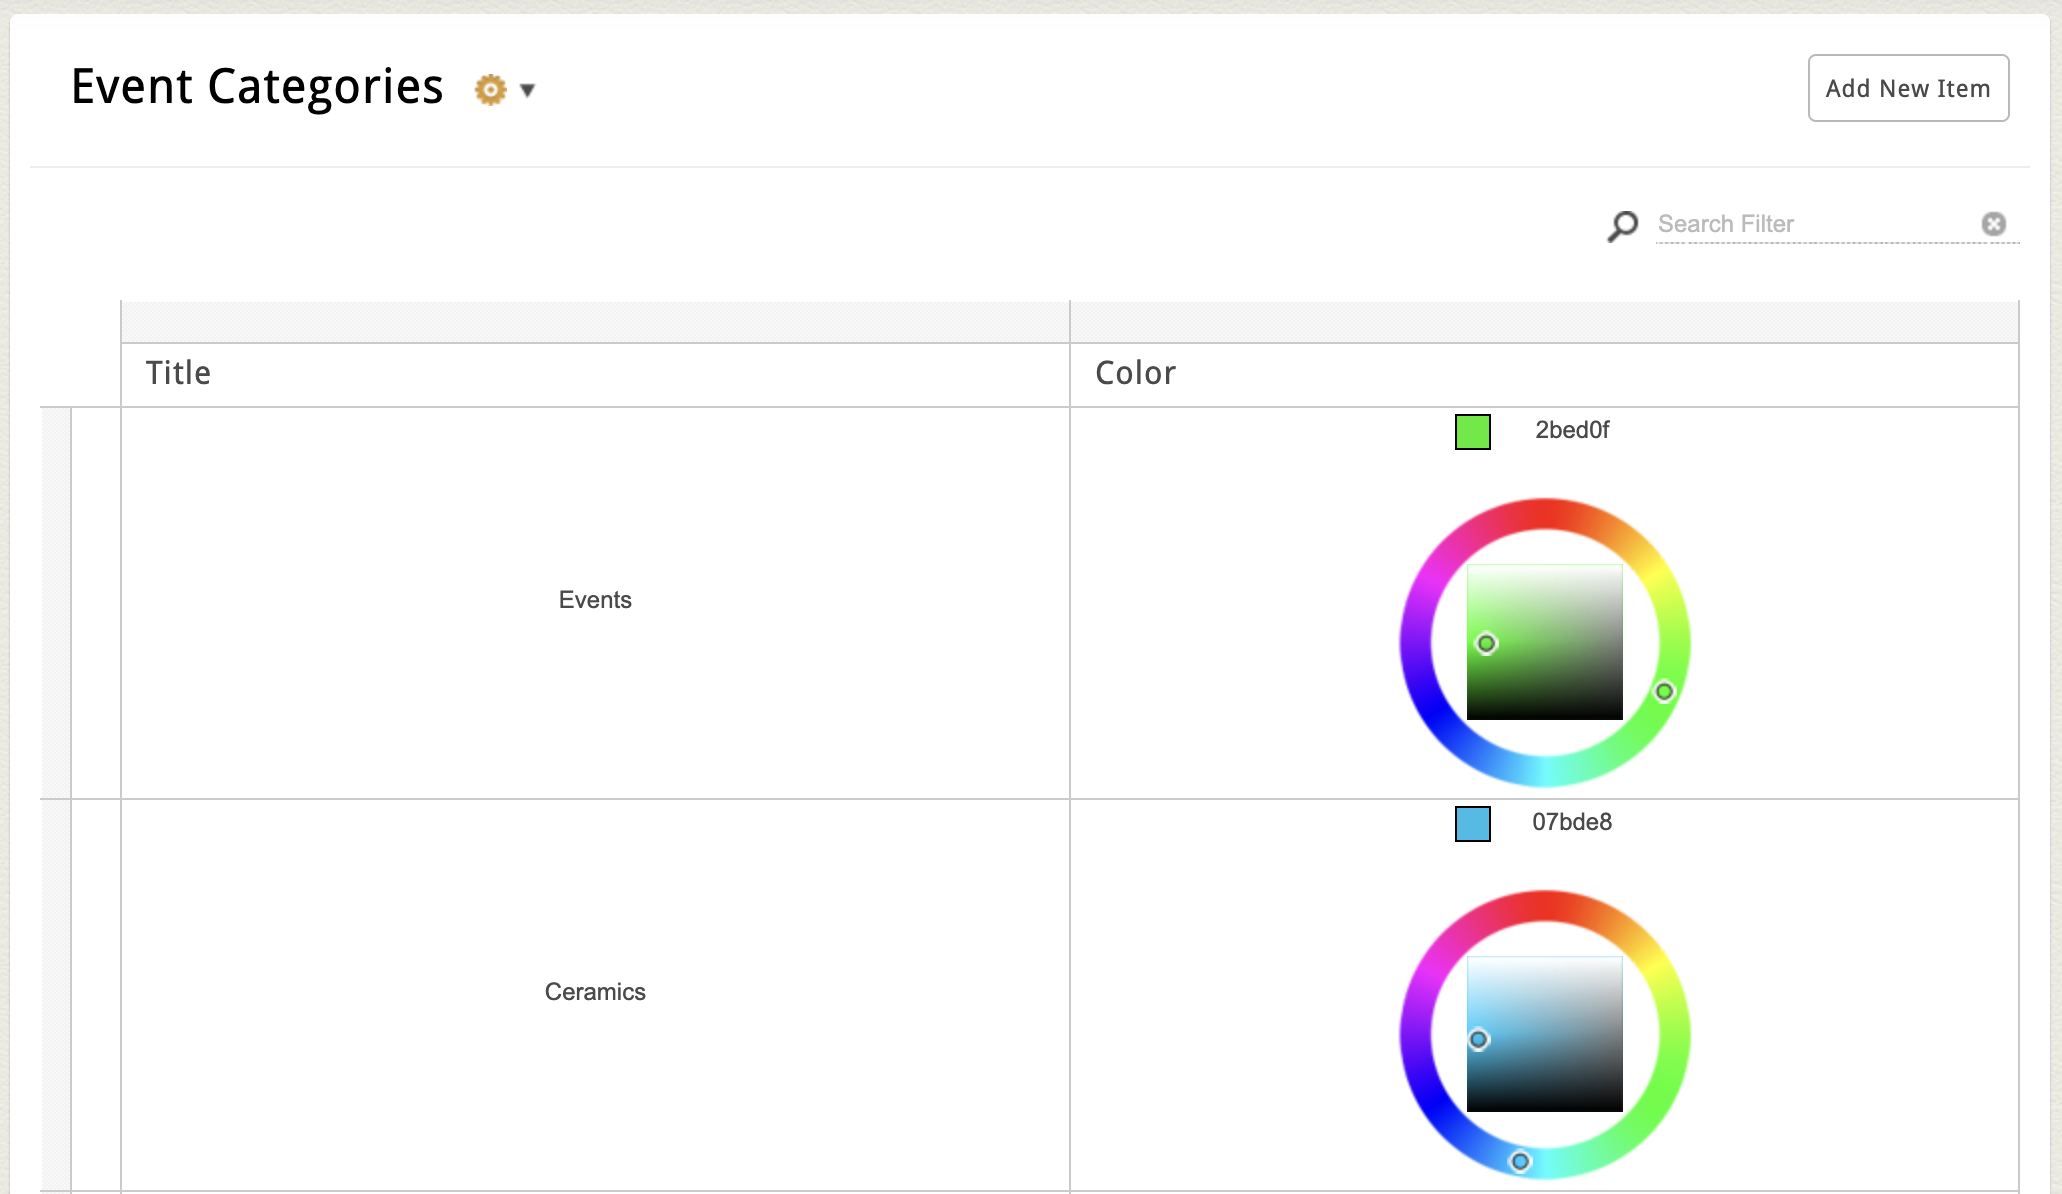
Calendars with Categories
Some calendars may include an added layer of event organization in the form of categories. If your Calendar supports Categories, you’ll see a second block labeled Categories below the main Event Block.
Each category typically includes:
- A Title
- And sometimes a hex color code picker
For example, you could create a few categories to organize events by audience:
- Family Friendly
- Adult Only
- Over 55+
Note: If your Calendar Block supports categories but there are currently no categories added, all events in the main block will automatically be grouped as "Uncategorized".
Add a New Category
To add a new category, click the "Add New Category" button in the top right corner of the category block. Enter the category title (as well as any other required fields) and click "Save and Return".
Assign a Category
After saving a new category, the category select menu in the individual event's profile page will show the new category as a option (categories could be assigned by dropdown for a single category per event, or checkboxes for multiple categories per event).
To assign a category to an uncategorized event, or reassign from one category to another, simply click the event's edit icon to open the full edit screen, select the appropriate category from the dropdown list and click "Save and Return" to save your changes.

Additional Settings
Some calendars include an Additional Settings section at the bottom of the main event block under the title "Additional Settings".
These options vary by site, but may include:
-
Default view toggle (Grid or List)
-
Image display options (cropping or aspect ratio)
-
Call-to-action button text or alignment
If you’d like to add layout controls or custom display options, contact clientservices@cybernautic.com to discuss customizing your calendar page type.