Dynamic Text Area Overview
The Dynamic Text Area is one of the most flexible and frequently used tools inside your website’s Editor. It works a lot like a word processor—giving you the power to write, format, and design content directly on your page without touching any code.
If you’ve ever used Microsoft Word or Google Docs, you’ll feel right at home here.
Getting Started with the Dynamic Text Area
To start editing, place your cursor where you want to add content and begin typing. You can also use the toolbar at the top of the text area to insert and style different types of content like images, videos, buttons, or columns.

Each tool in the toolbar adds another layer of control to your content. Let’s take a quick look at what you can do.
Insert Paragraph Tool
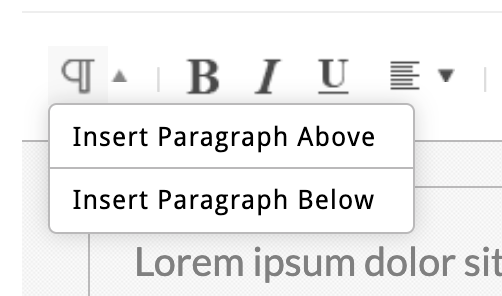
Sometimes it can be tricky to place your cursor exactly where you want to insert a new line of text. The Insert Paragraph Tool makes that simple.
Clicking the icon will add a new paragraph break above or below your selected content—whether that’s text, an image, or another element.
Basic Text Formatting
You’ll find all the standard text formatting controls right in the toolbar:
-
Bold
-
Italic
-
Underline
-
Text Alignment (left, center, right, or justify)
These tools help keep your content clean, readable, and consistent.
Hyperlinking Text
|
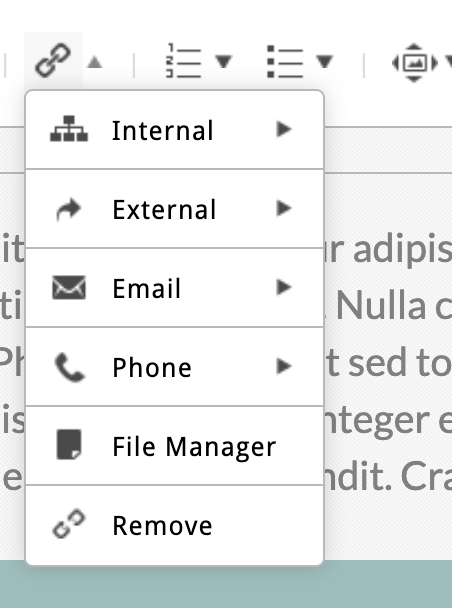
You can turn any piece of text into a clickable link. Just highlight the text, click the Link icon, and choose from one of the following link types:
Tip:Always test your links to ensure they open the correct destination. For a full walkthrough, check out our related article How to Add a Hyperlink. |
 |
Lists and Structure Tools
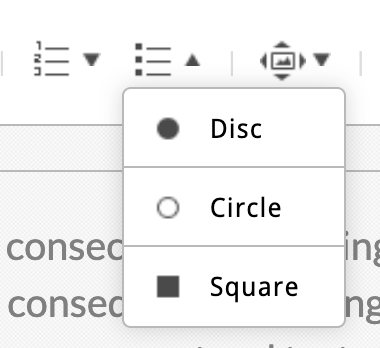
To make your content easier to scan, use Numbered Lists or Bulleted Lists to break information into digestible chunks. These are perfect for step-by-step instructions, key points, or summaries.
Using the Insert Menu
Here’s a quick overview of what you can insert:
-
Images – Upload or choose from your File Manager and wrap text around them.
-
Videos – Paste a YouTube or Vimeo link or embed code.
-
Responsive Columns – Place content side-by-side on desktop that stacks automatically on mobile.
-
Data Columns – Create fixed-width columns for tables or pricing layouts.
-
Elements – Insert pre-formatted content blocks like Accordions or Testimonials.e
-
Embed Code – Add third-party widgets, forms, or HTML-based tools.
Want to take deeper dive? Each of these tools has its own tutorial linked below.
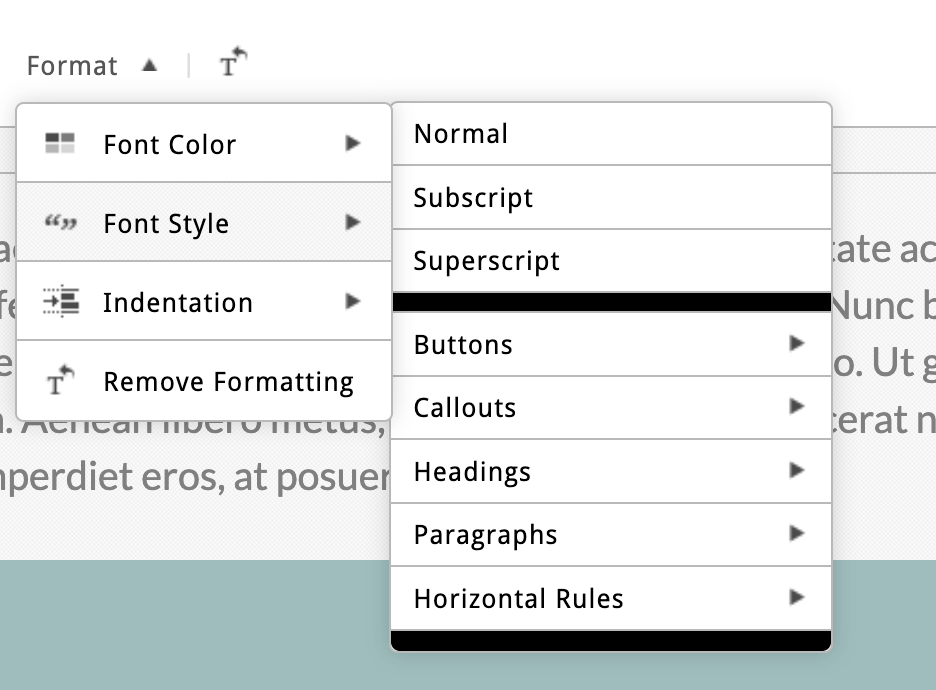
The Format Menu
You can:
-
Change Font Color – Choose from your brand colors or the full color wheel.
-
Apply Font Styles – Add headings, paragraphs, or callouts.
-
Insert Inline Buttons – Place buttons directly within your content.
-
Add Horizontal Rules – Use divider lines to separate sections.
-
Adjust Indentation – Indent text without using bullets or numbers.
-
Remove Formatting – Clean up unwanted styles (especially helpful if you’ve pasted from Word or another site).
Learn more about the format menu in this article: Styling Your Content).
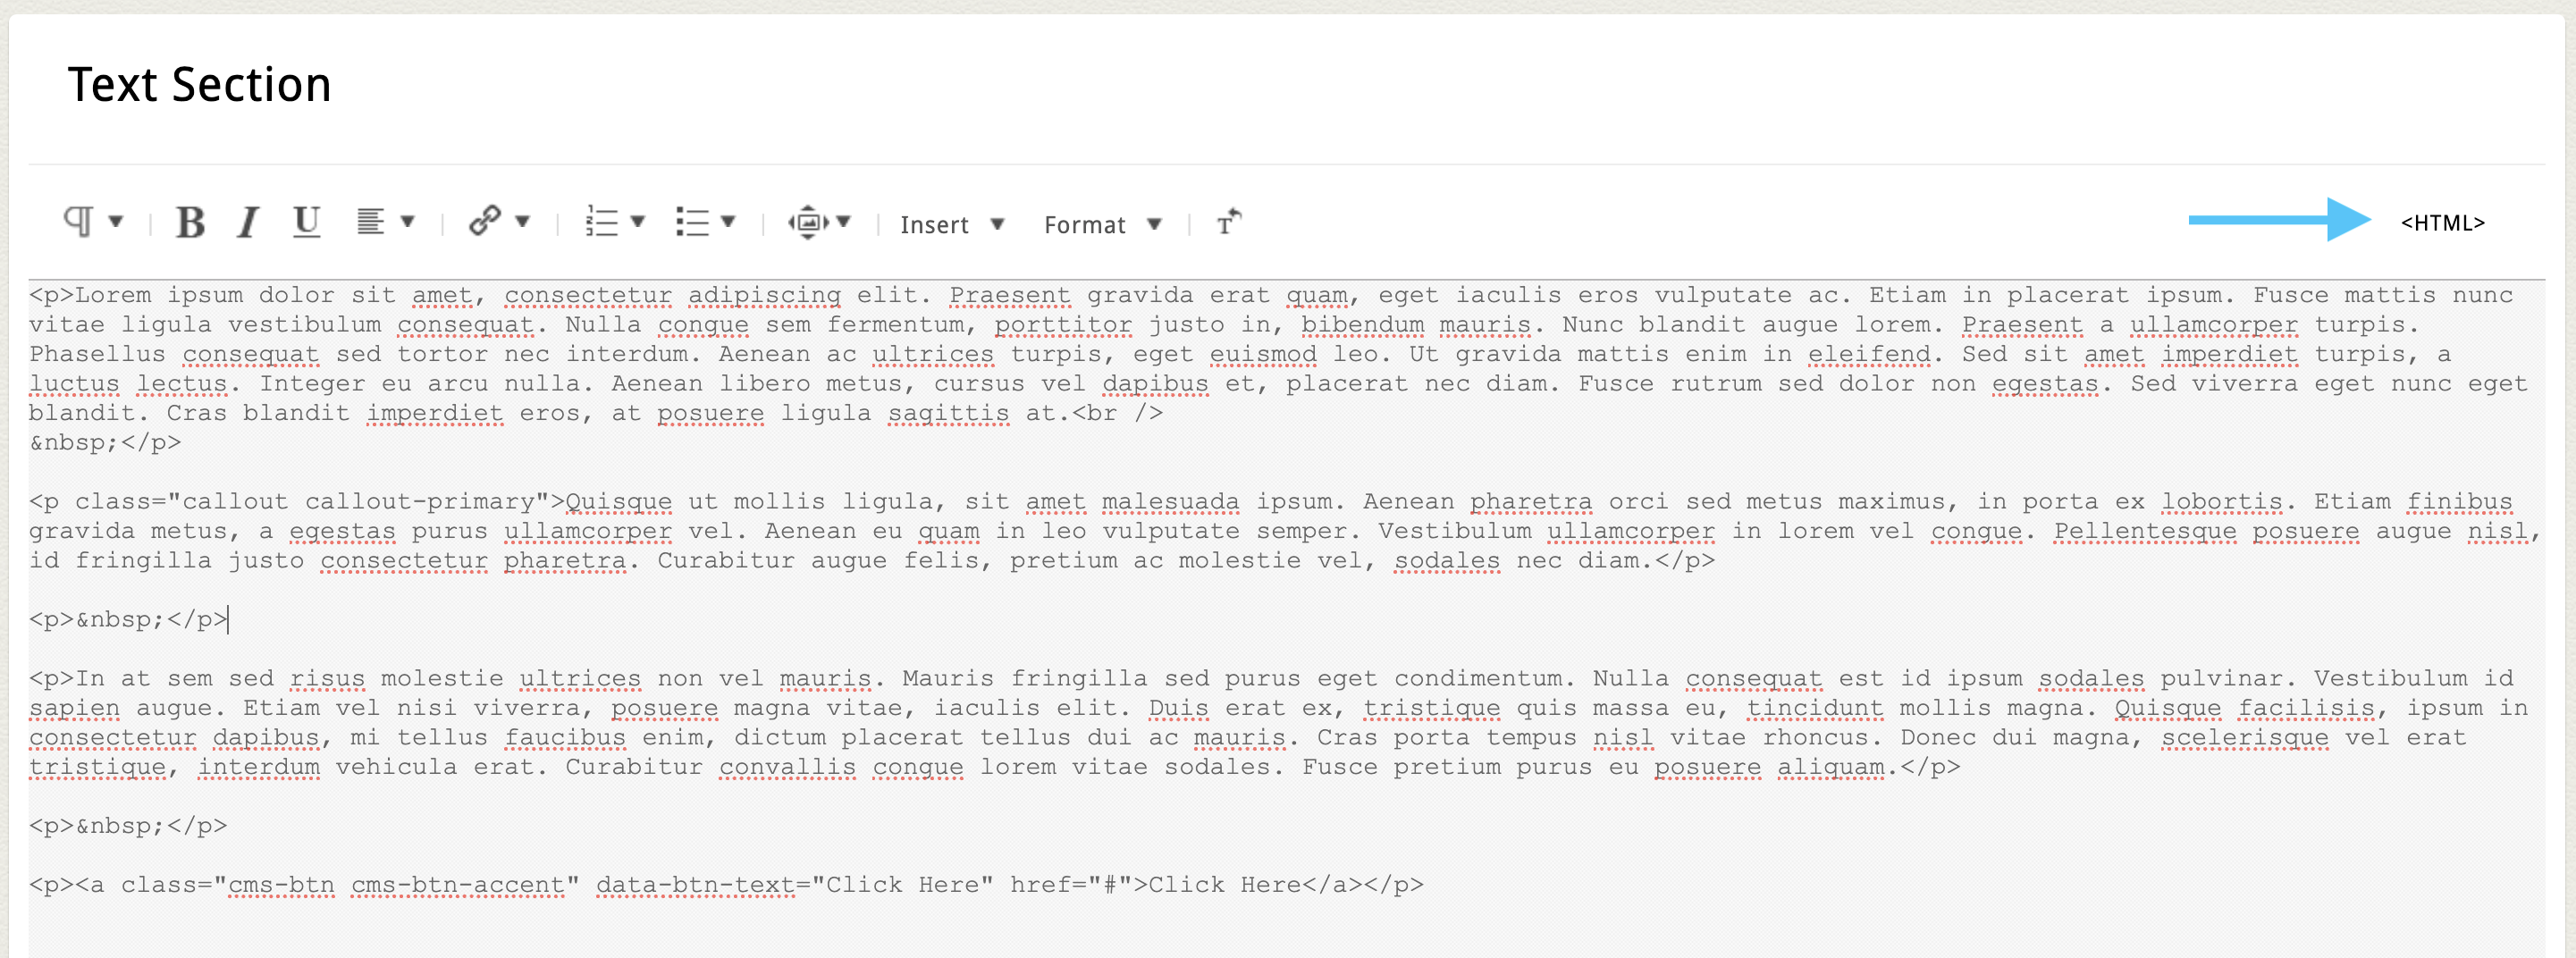
HTML View
For advanced users, the HTML View toggle allows you to view and edit the raw HTML behind your content. This can be helpful for embedding custom code snippets or adjusting inline styles.
Click the toggle icon again to switch back to the standard editor view.