Sorted List / Grid
The Sorted List and Sorted Grid page types are two of the most flexible tools in your website’s Editor. They’re perfect for organizing collections of repeatable content—like staff profiles, services, locations, or partner logos—into clean, consistent layouts.
These page types are easy to manage, visually consistent, and automatically structured for optimal performance and SEO.
Examples of Different Sorted Lists & Grids
The term “Sorted List” is used broadly across many different kinds of page layouts within Editor.
If a layout includes a section that allows you to add repeatable items, each following the same structured format—where every item shares the same fields, but with unique content for each—then it qualifies as a Sorted List layout.
Common Fields in a Standard Sorted List
Most standard Sorted List layouts include a core set of fields:
-
Photo
-
Title
-
Subtitle
-
Description
Additional Common Fields
Many Sorted List page types also include optional fields such as:
-
Preview Description – Displays a short summary or teaser text on the listing page only.
-
Override URL – Allows you to link directly to another page or external website instead of using the built-in profile page.
Custom Variations
Your website may also include customized Sorted List layouts that were designed specifically for your content.
For example, your site might include:
-
A Staff Directory (with photos, names, job titles, and bios)
-
A Services Listing (with icons, descriptions, and detail links)
-
A Logo Grid (for partners, sponsors, or clients)
-
A Product Showcase (with pricing, specifications, or “Add to Cart” buttons)
Each of these variations uses the same foundational “sorted” structure—repeatable, flexible, and easy to manage—just tailored to fit your unique content.
Here are a few examples:
SERVICES GRID
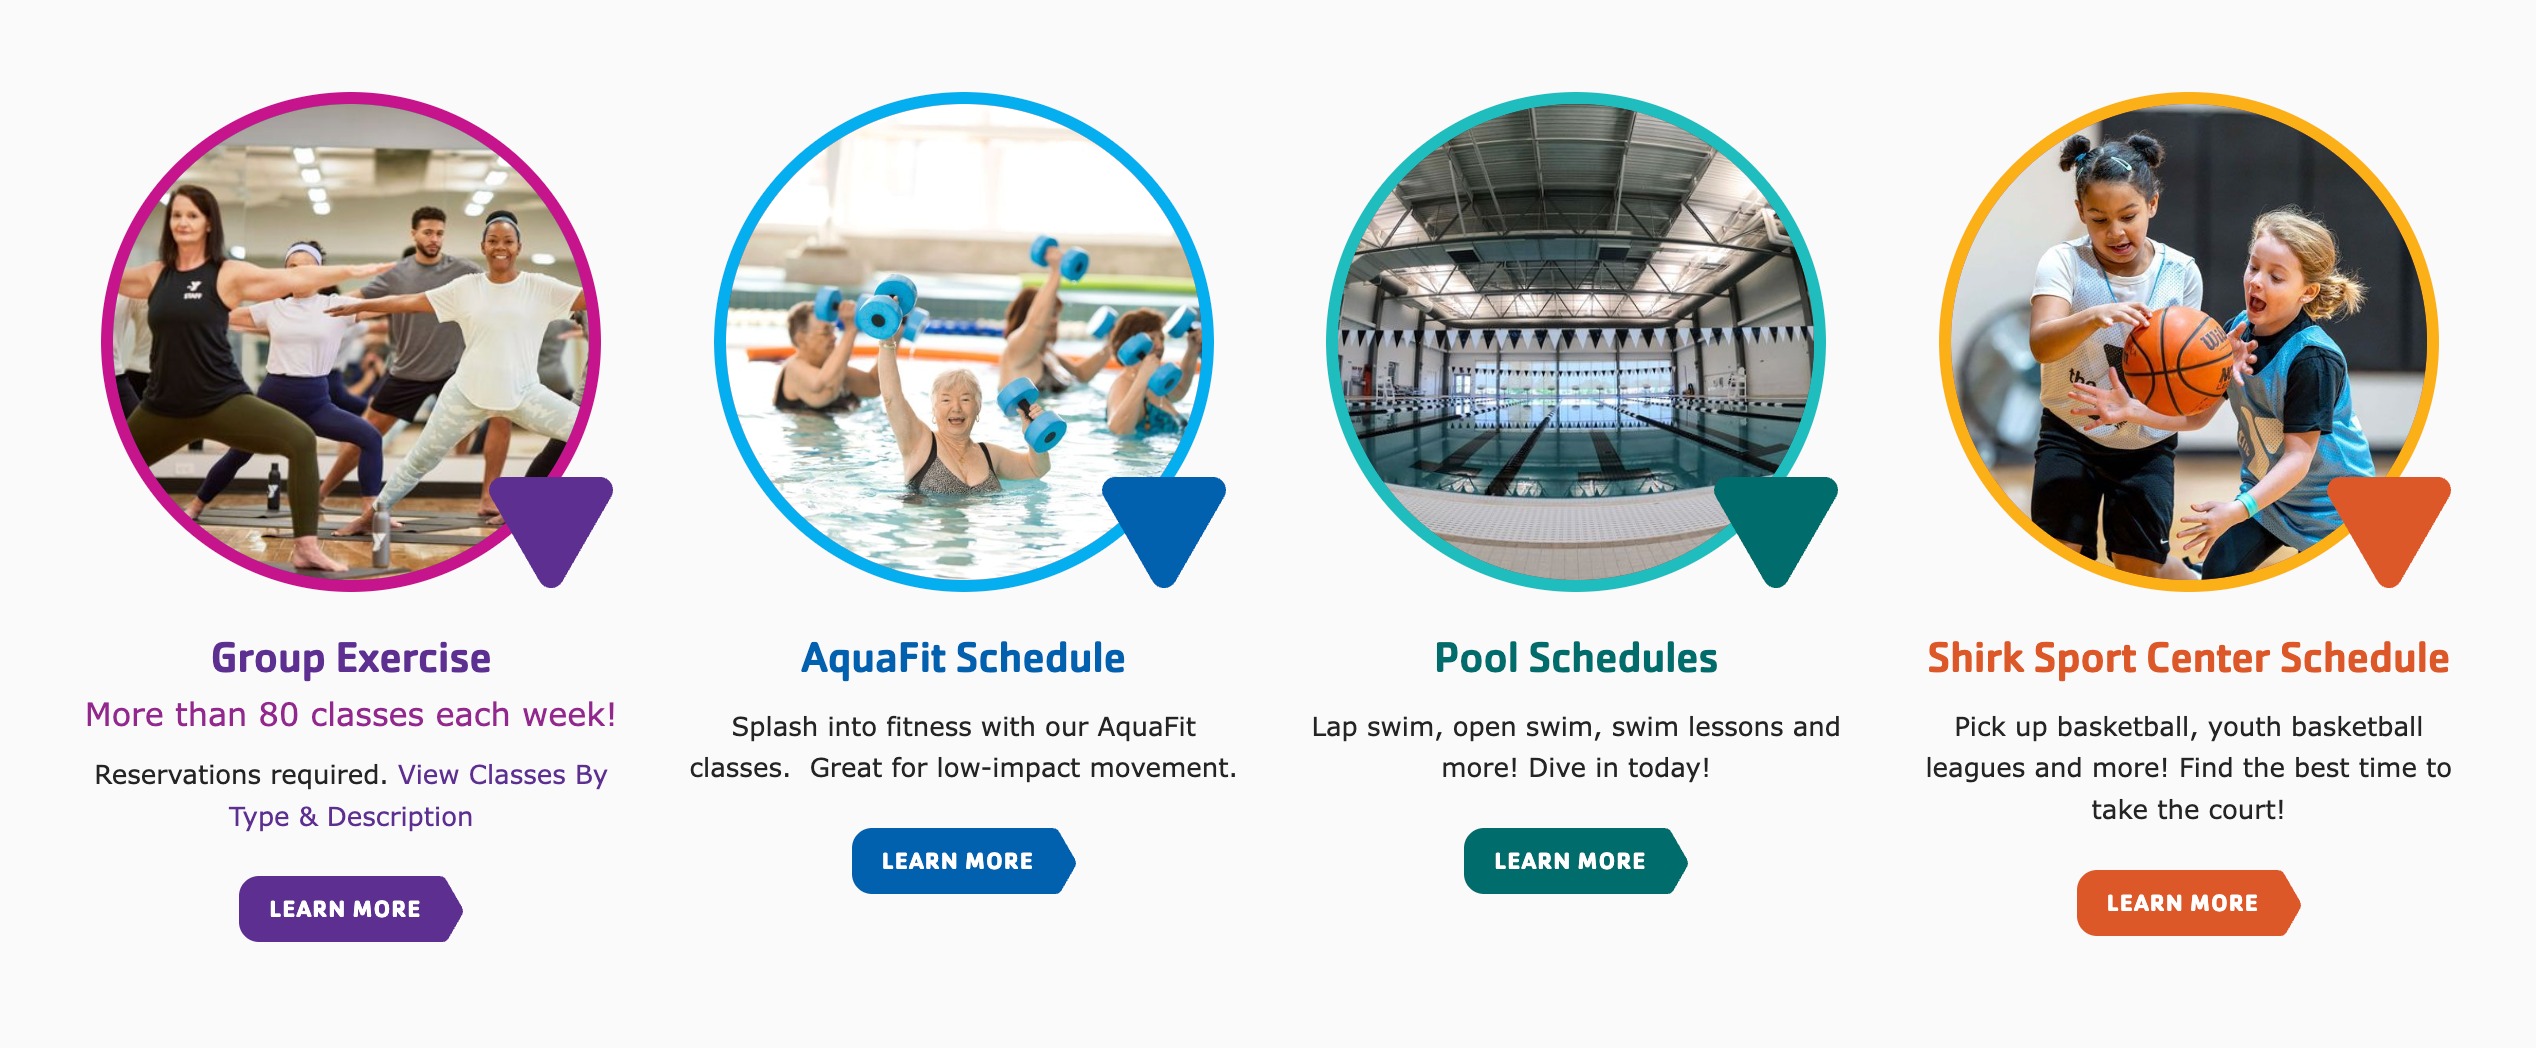
SERVICES LIST
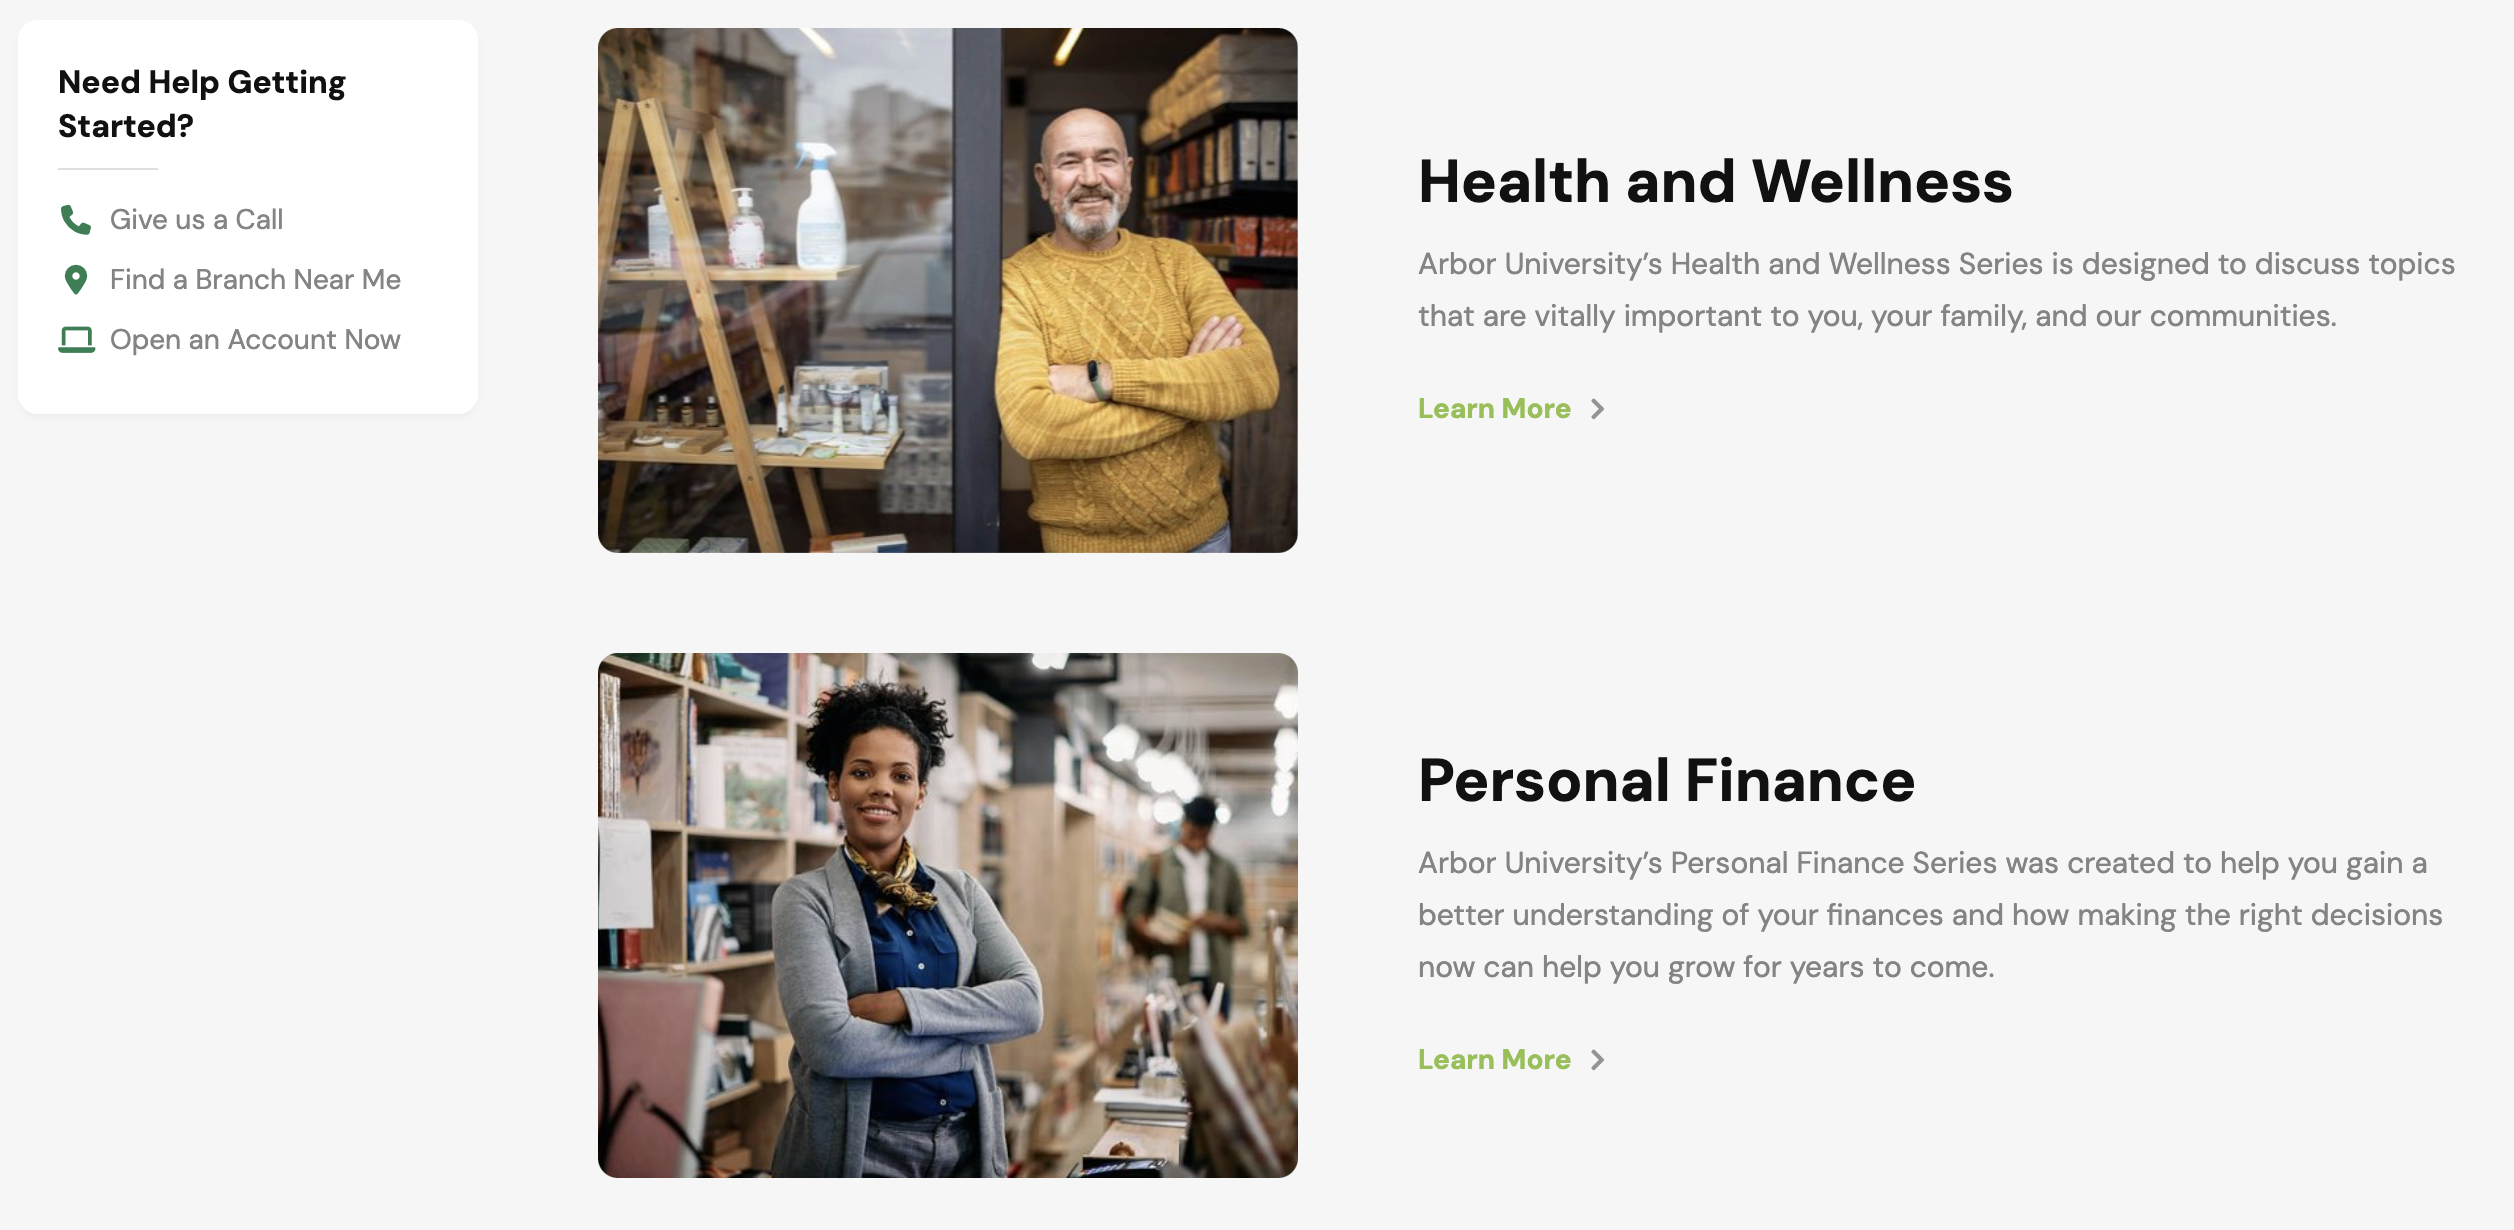
STAFF GRID

LOGO GRID

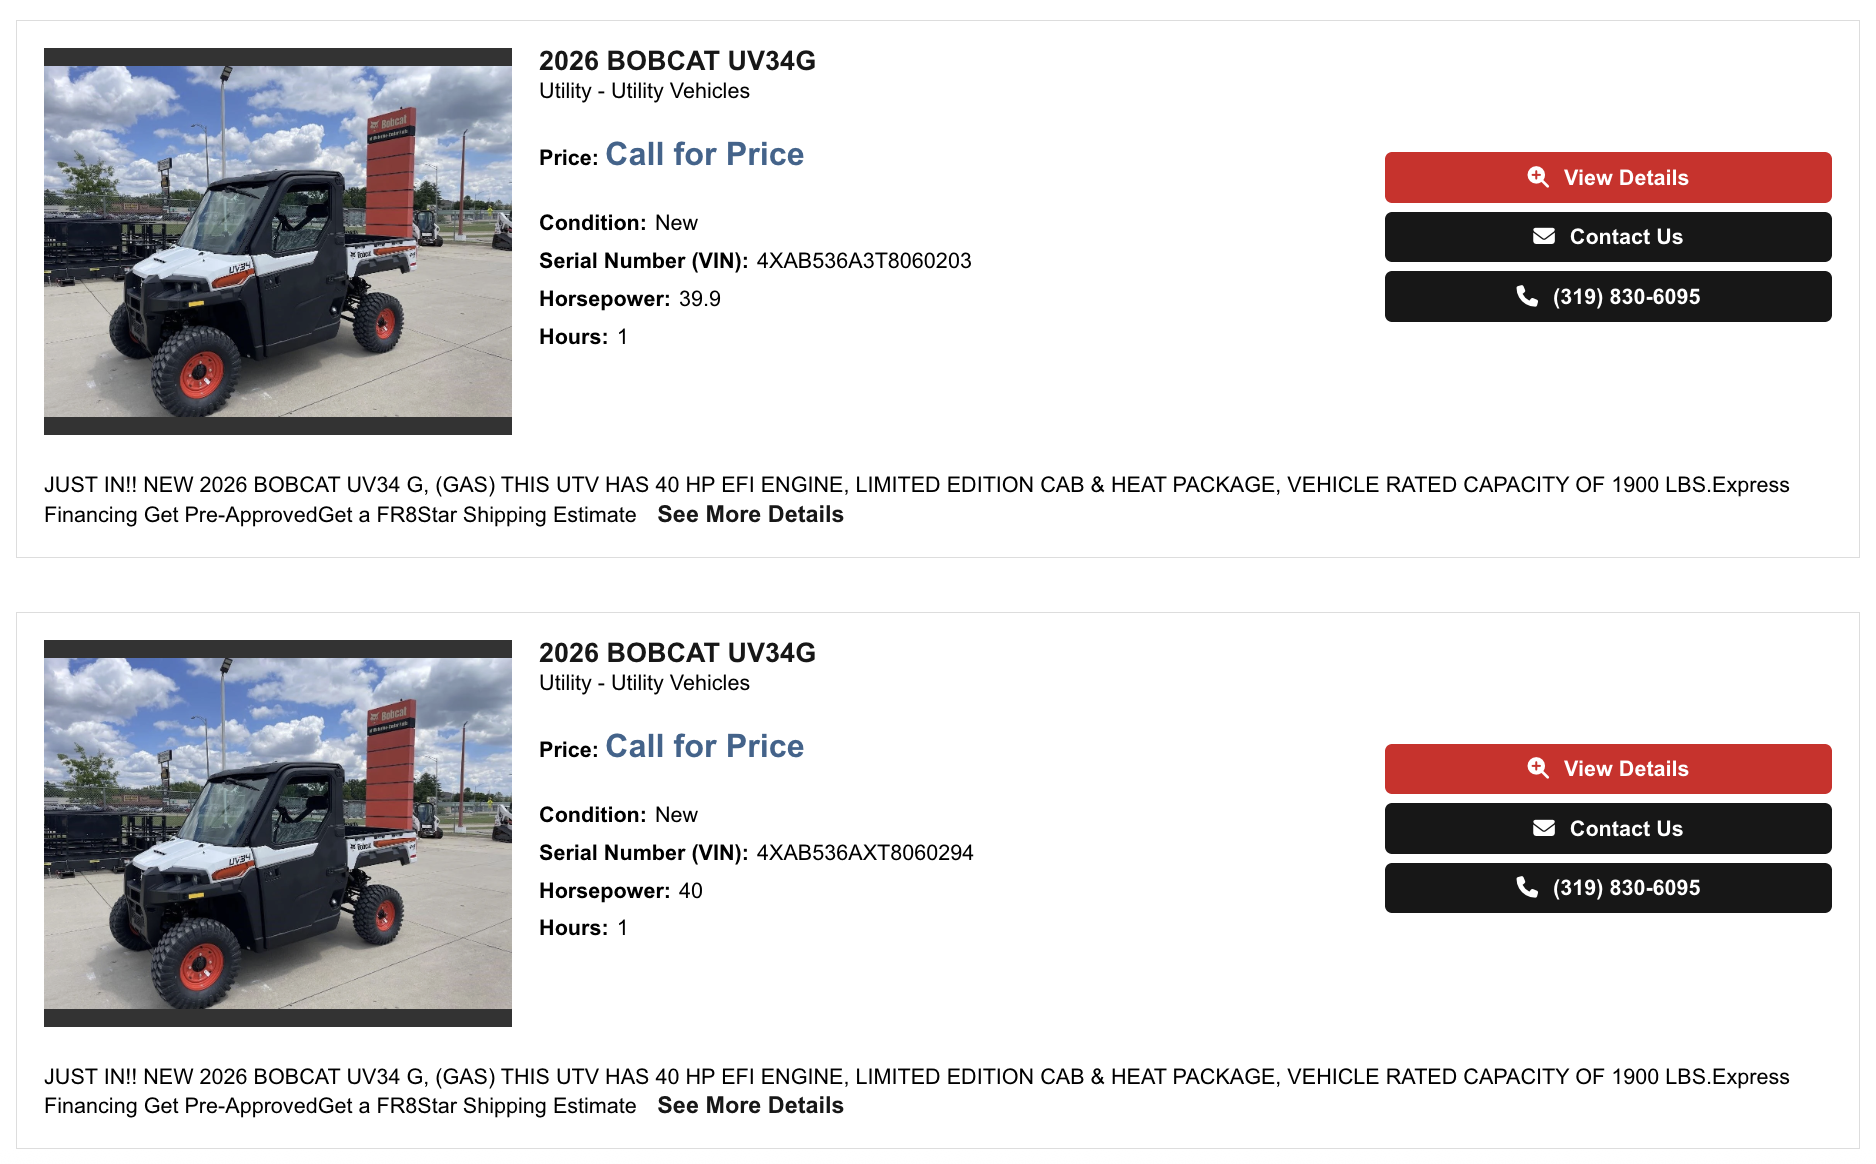
CUSTOM SORTED GRID (PROPERTY MANAGEMENT)
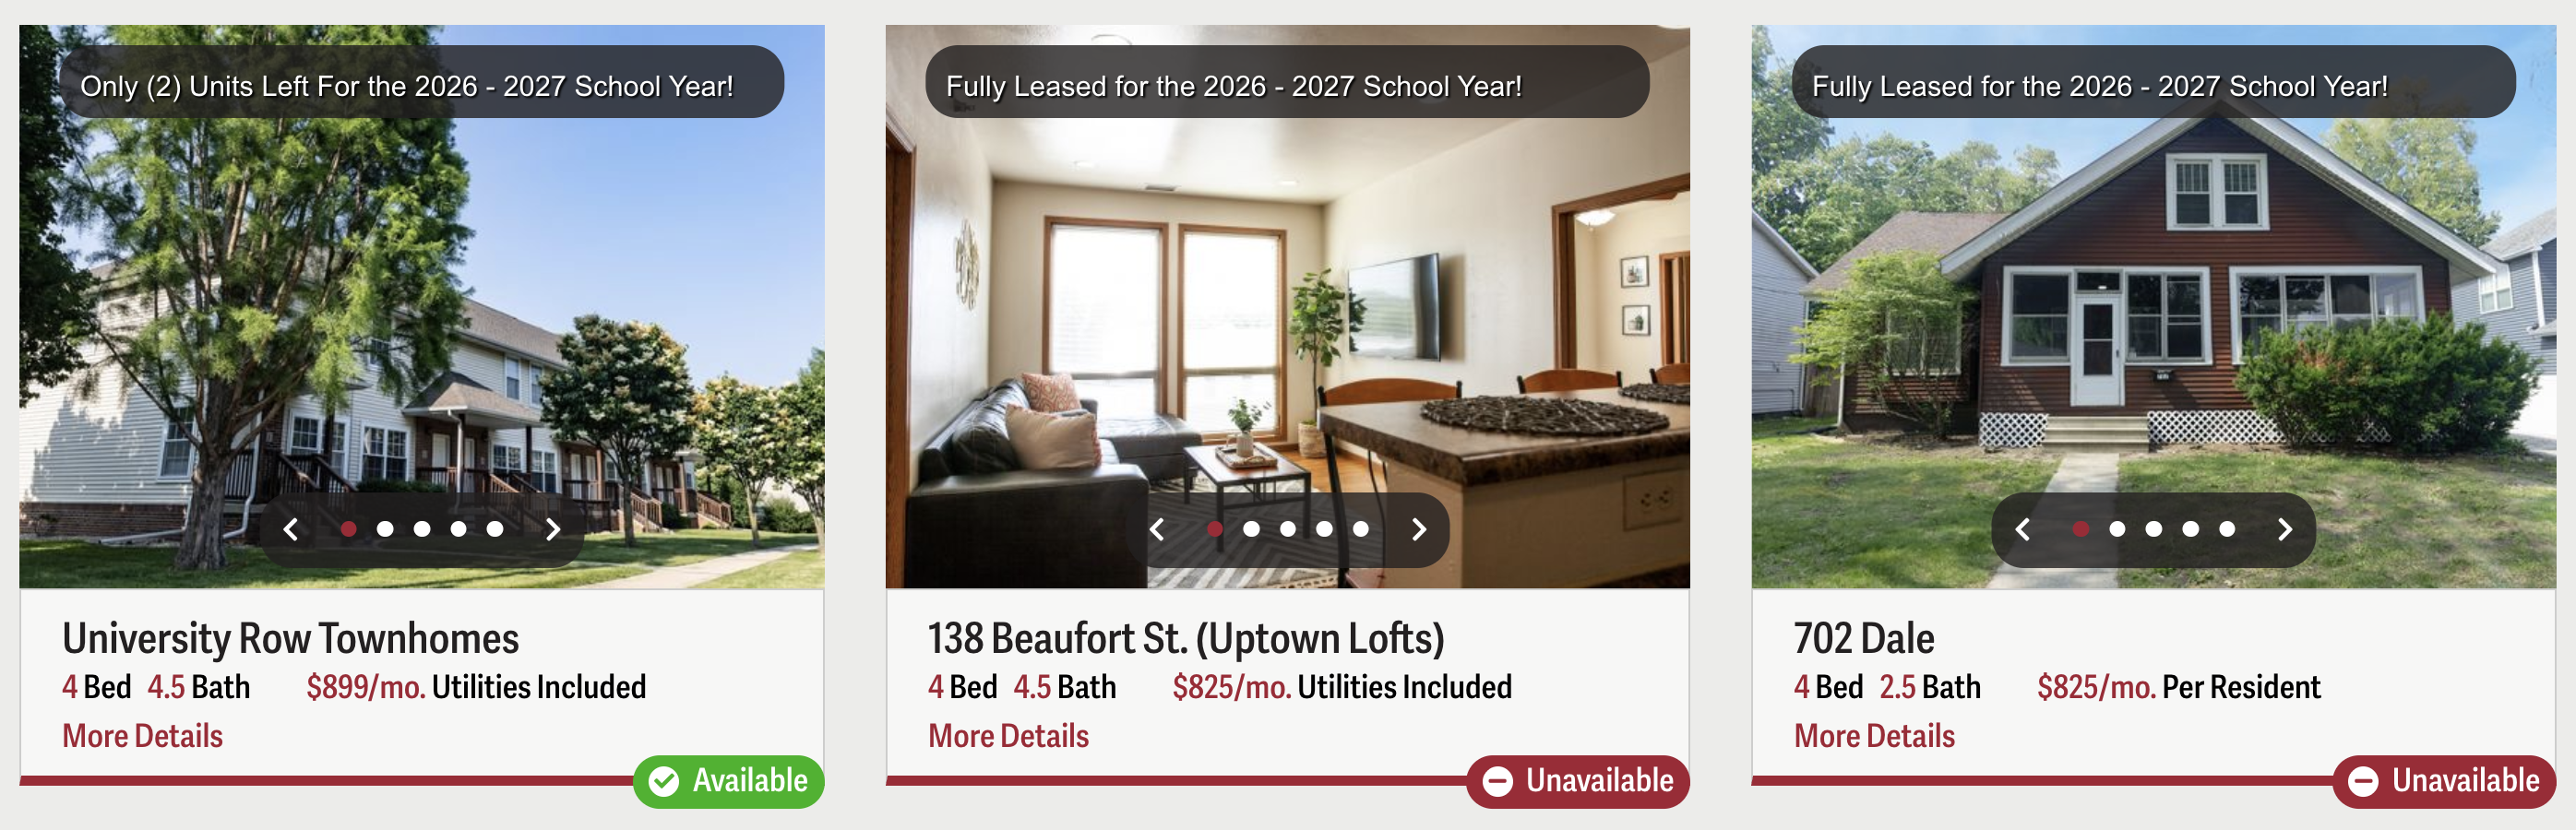
CUSTOM SORTED LIST (EQUIPMENT)
Creating a Sorted List or Grid Page
From your Add New Page menu, select the Sorted List page type.
If your site includes both layout options, you’ll be prompted to choose between:
-
Vertical List – Items stack one on top of another
-
Grid List – Items display side-by-side in a tiled layout
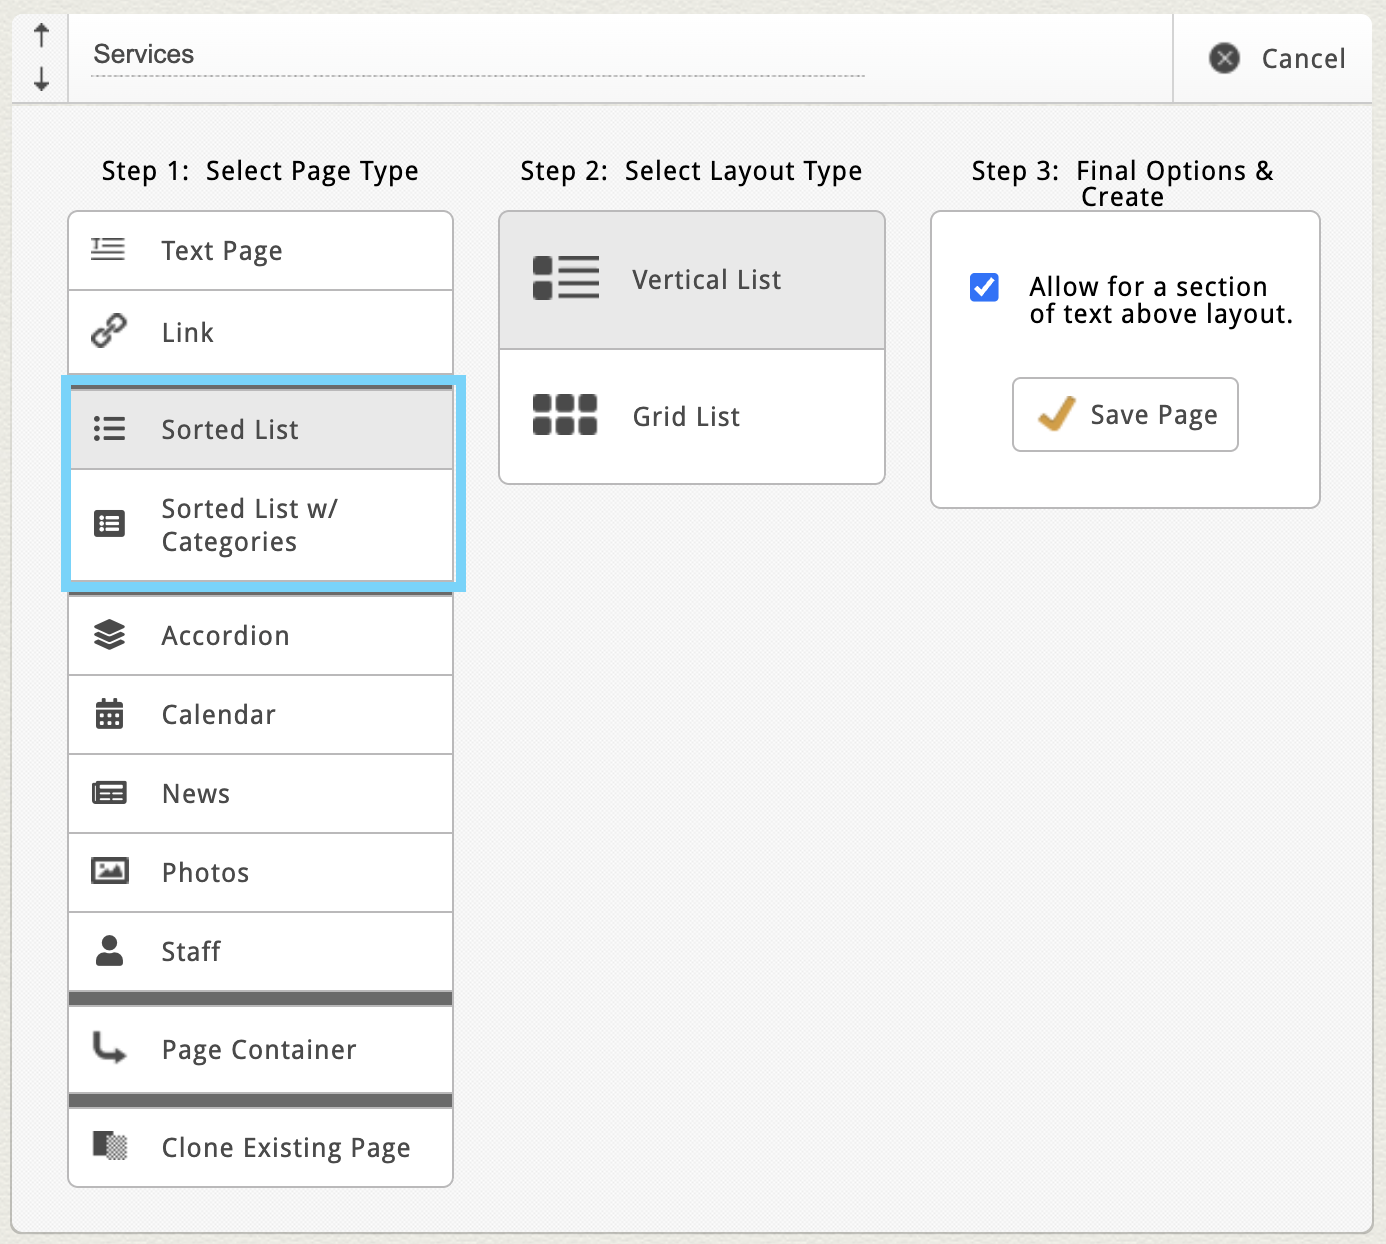
After choosing your layout, give your page a name and click Save Page.
Once created, you’ll typically see these default blocks:
-
Custom Page Settings – site-specific layout controls
-
Dynamic Text Area (optional) – great for introductory copy
-
Sorted List Block – where you’ll manage your items
Note: Some sites may have custom labels for this block, like “Staff,” “Services,” or “Portfolio.” These were customized during your project setup to match your specific use case for your sorted list page.
Adding a New Item
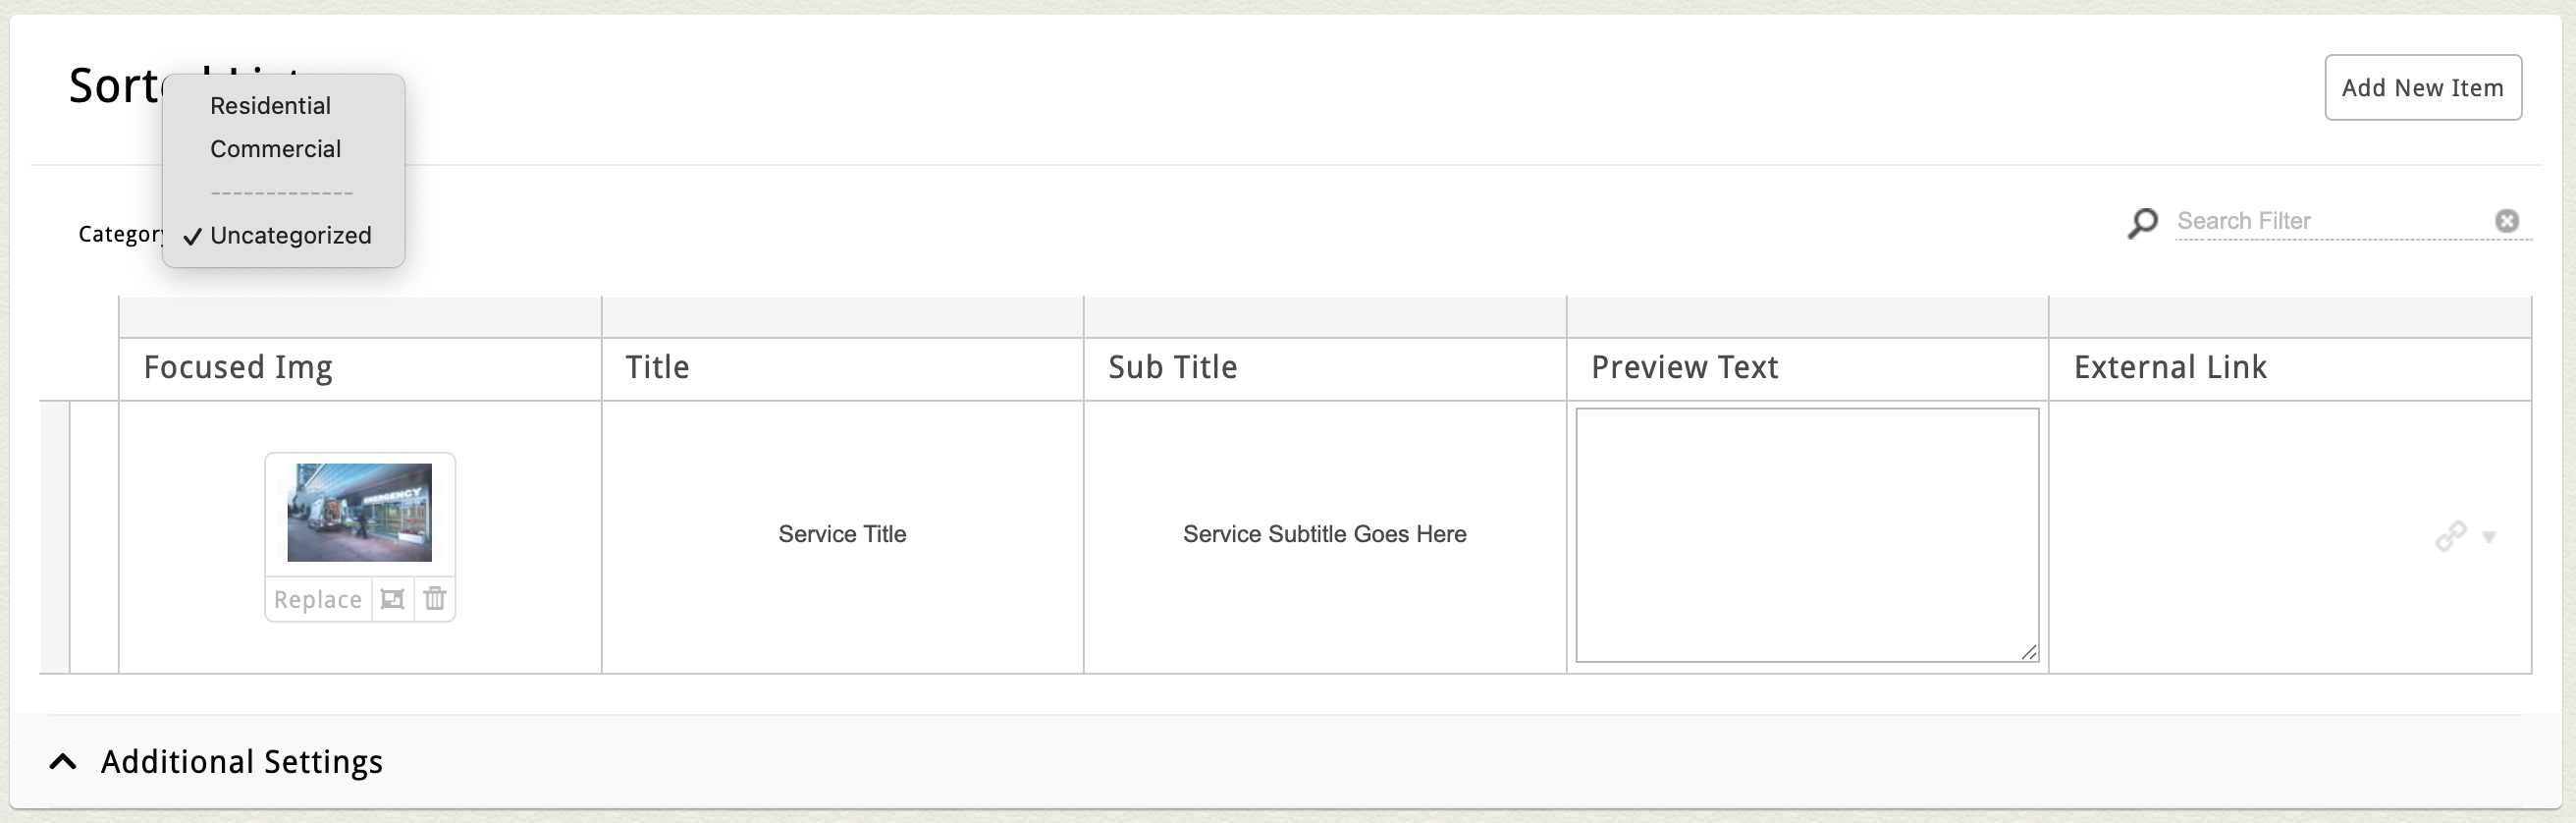
In your main Sorted List Block, click the Add New Item button to create your first entry.

Each item typically includes the following fields:
-
Profile Photo – Click the image icon to open the File Manager and upload or select an image. You may be prompted to set the Focus Point to keep your subject centered on all screen sizes.
-
Title – The main heading for your item.
-
Subtitle – An optional subheading below the title.
-
Preview Text – Short summary text shown in the list or grid view.
-
Profile Page Content – A full Dynamic Text Area where you can format text, add media, or include buttons and links.
When finished, click Save and Return in the top-right corner to add your new item to the block.
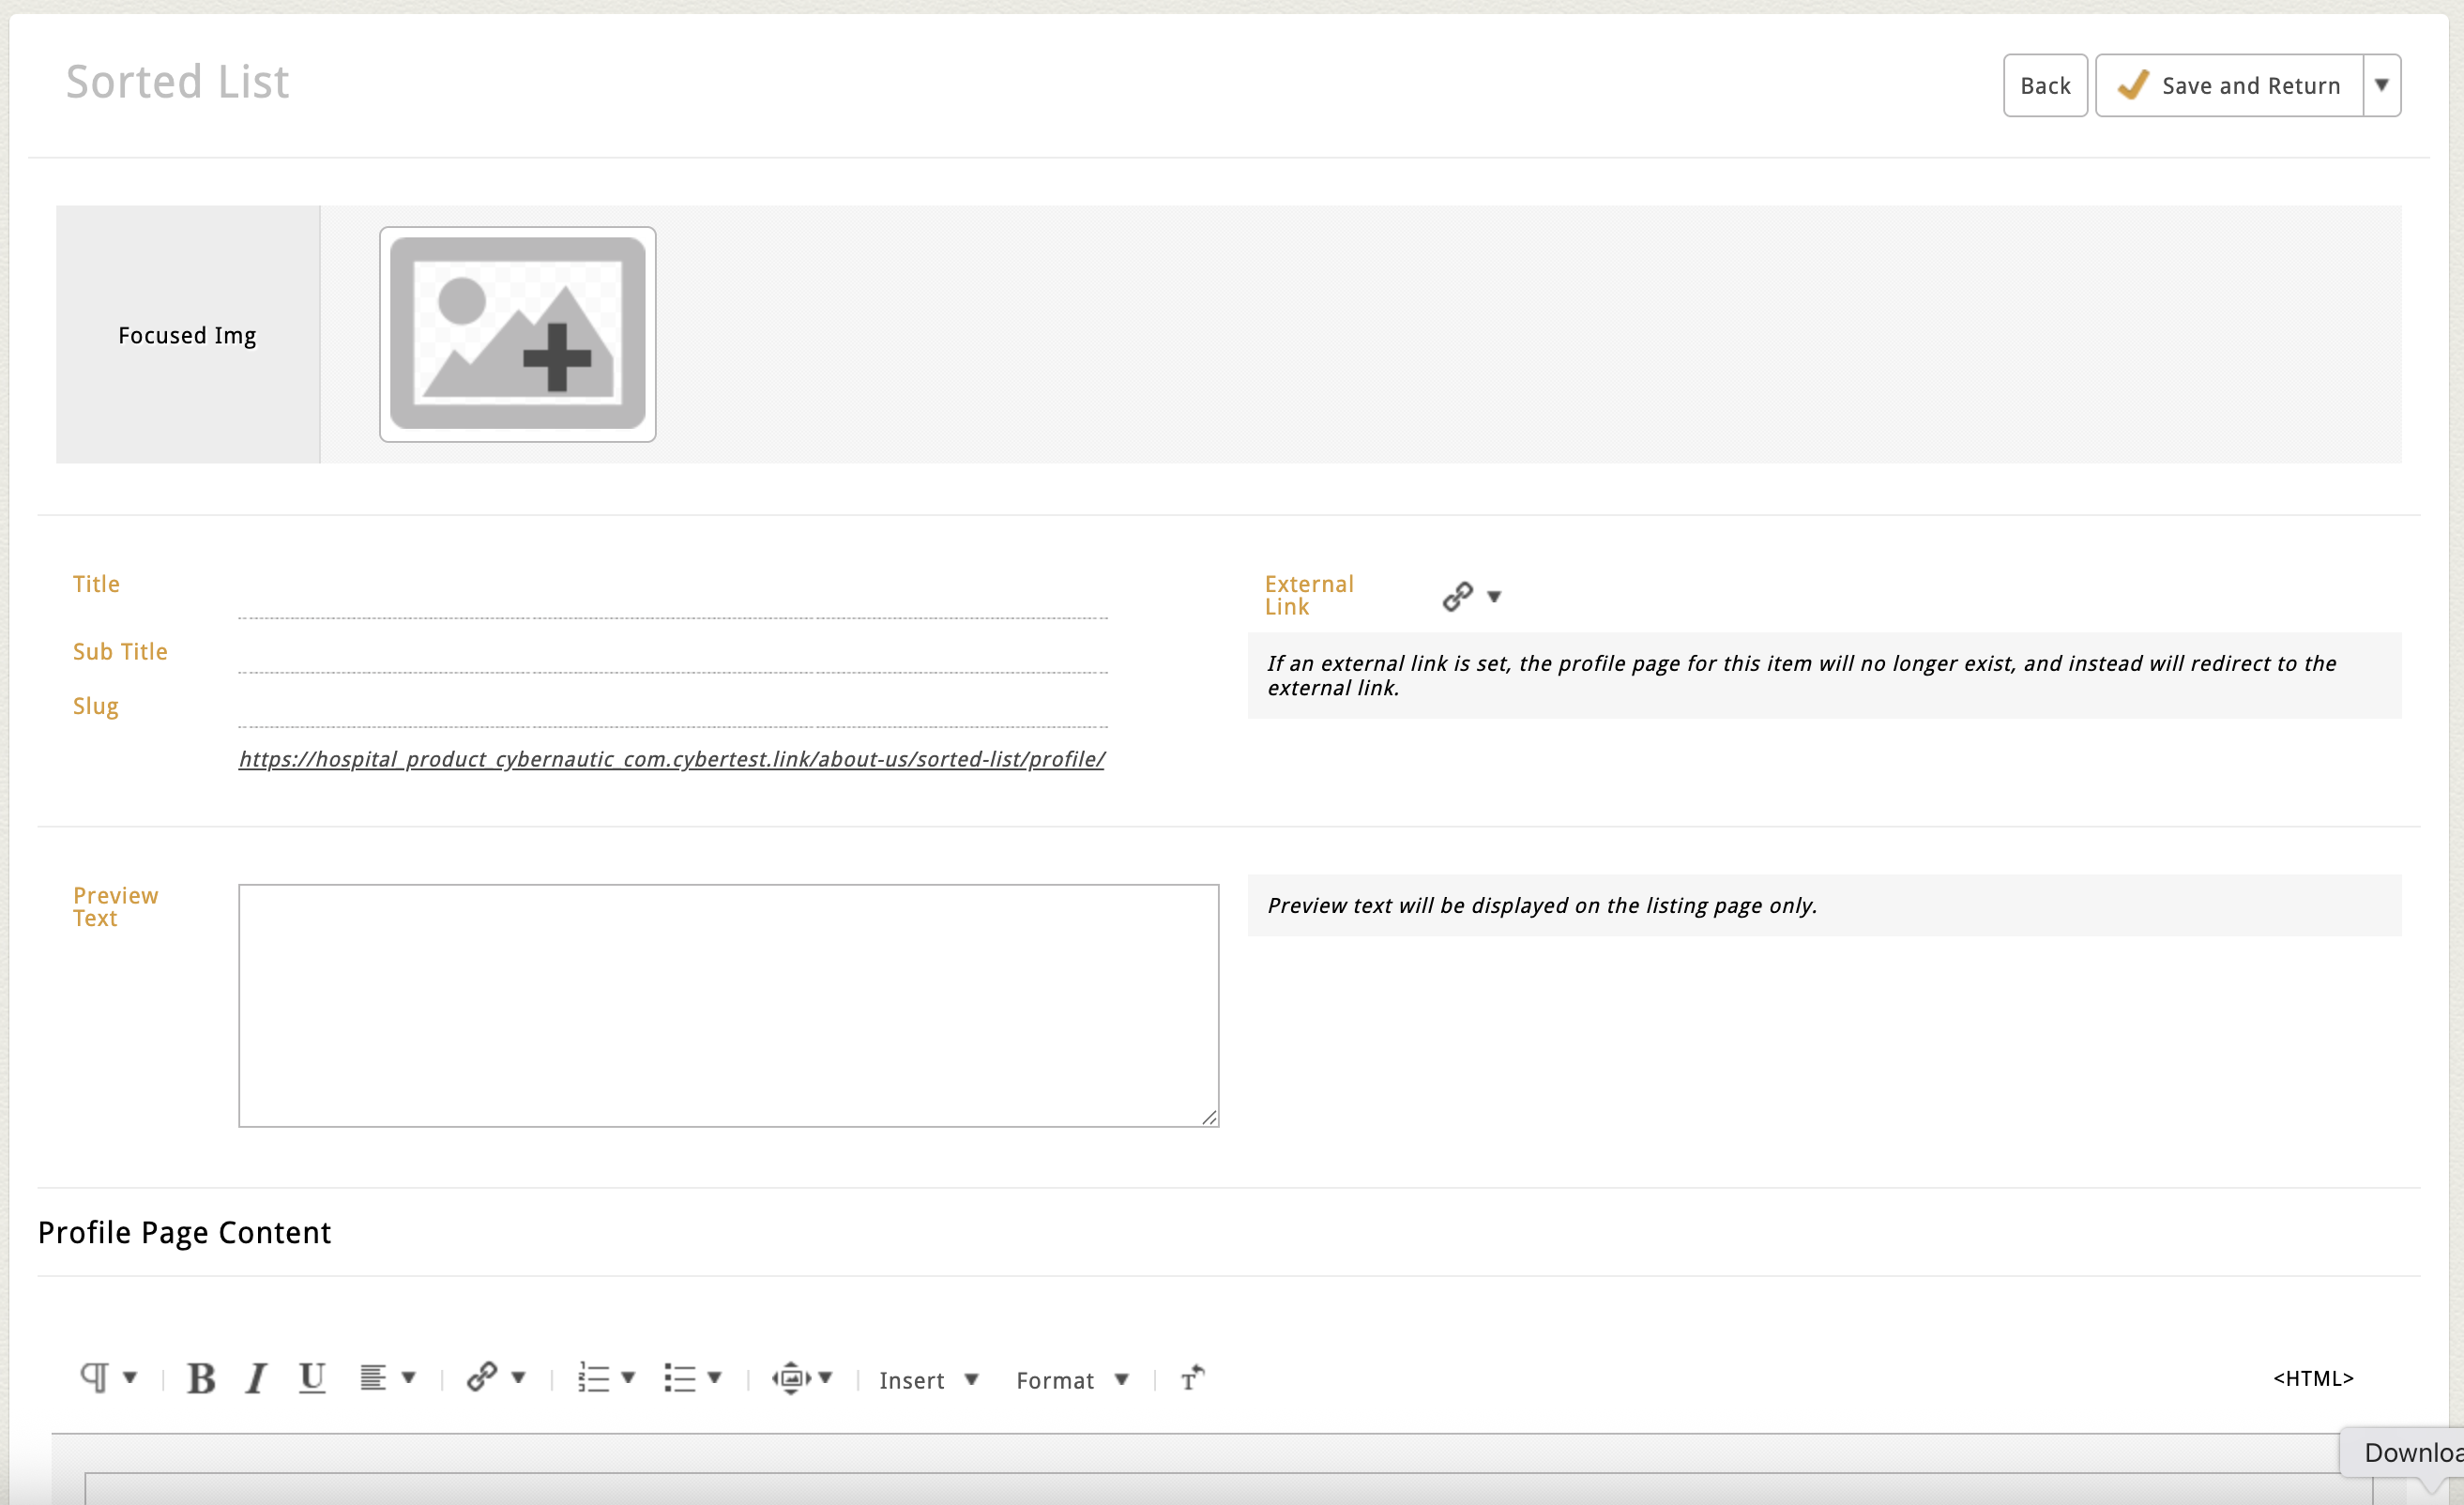
Understanding the Override URL
Some sites include a field labeled Override URL or External Link. If you enter a URL here, clicking on the item will bypass the profile page and take users directly to that link instead.
Use this if:
-
The item should link to another page within your site (like a detailed service page).
-
You want it to point to an external resource (like a partner website or downloadable file).
If left blank, clicking the item will open its included profile page, which is managed in the dynamic text area on the item's edit screen.
Managing Items in the Flex Grid
Your Sorted List items are managed in a flex grid—a simple table view that lets you quickly edit, sort, or duplicate content.
You can:
-
Click into a field (like Title or Subtitle) to make inline edits. When your update is complete, click anywhere outside the field and watch for the orange flash confirming autosave.
-
Hover over an item to reveal action icons:
-
Edit (Pencil Icon) – Opens the full edit screen.
-
Delete (Trash Can Icon) – Removes the item.
-
Clone (Double Rectangle Icon) – Duplicates the item for easy reuse.
-
-
Click and drag the arrow handle on the left to reorder your items.
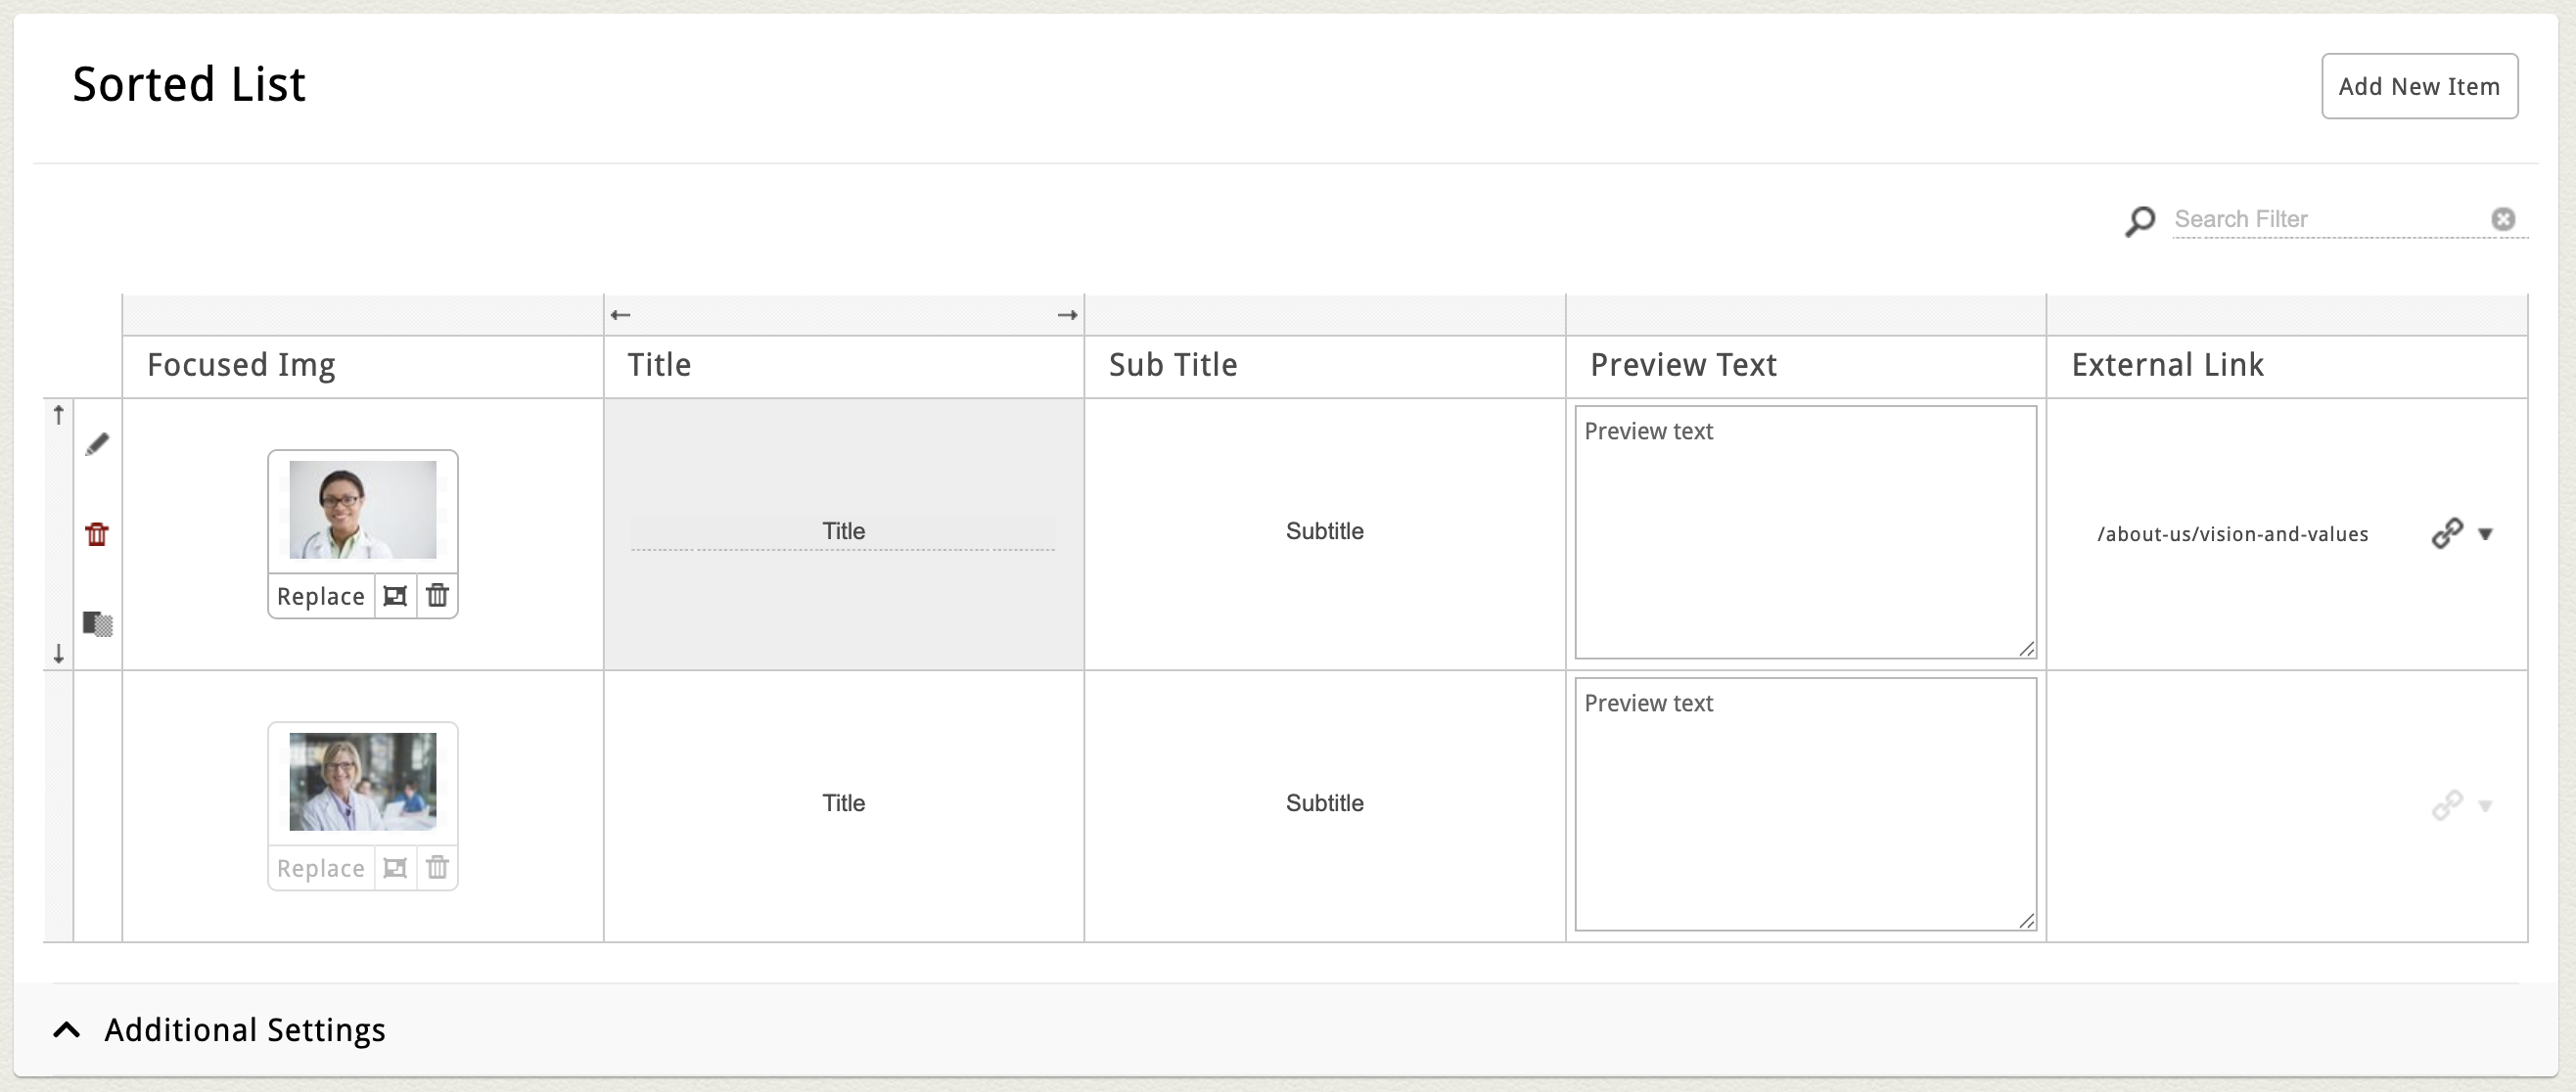
Tip: You’ll see this same flex grid editing format in many other blocks throughout Editor—it works the same way everywhere.
Layout Settings (List vs. Grid)
Some Sorted List blocks include an Additional Settings section at the bottom.
These settings vary by site, but may include:
-
Layout Toggle – Switch between Vertical List and Grid View.
-
Button Text – Change the default call-to-action label (e.g., “Learn More” or “Read More”).
-
Image Display Options – Choose between Fit to Frame or Fill the Frame image behavior.
If you’d like to add or adjust these settings, reach out to clientservices@cybernautic.com to explore customization options.
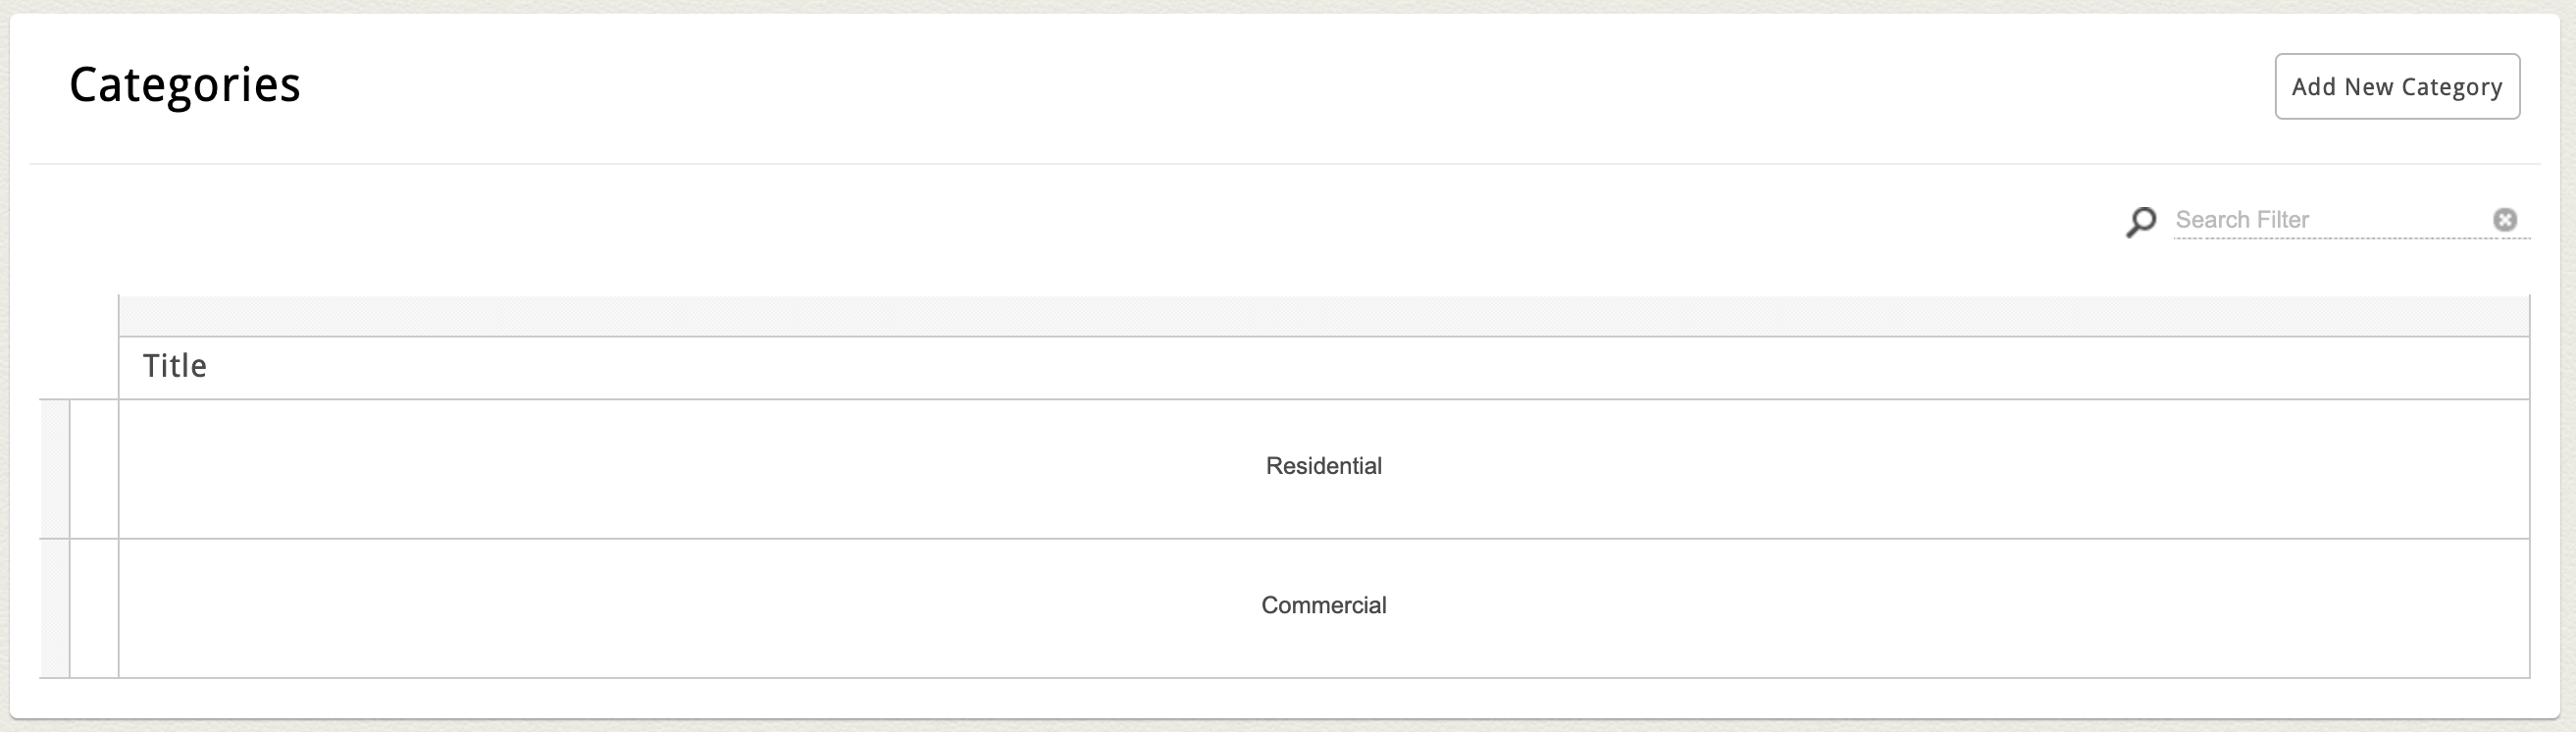
Sorted Lists and Grids with Categories
Some Sorted List and Grid pages include an additional way to organize items using Categories. If your Sorted List or Grid supports categories, you’ll see a second block labeled Categories directly beneath your main Sorted List block.
Each category typically includes:
-
Title
-
And occasionally a Description or Image, depending on your layout
For example, on a Services page, you might create:
-
Residential Services
-
Commercial Services
Add a New Category
Note: If your Sorted List or Grid Block supports categories but there are none yet, all items will automatically be grouped as “Uncategorized.”
To add a category:
-
Click Add New Category in the top-right corner of the Category block.
-
Enter your category details (Title, Description, etc.).
-
Click Save and Return.
Assign a Category
After saving a new category:
-
The category will appear as an option in both the flex grid and each item’s edit screen.
-
To assign or reassign a category, open the item’s full edit screen, select the category from the dropdown, and click Save and Return.
Tip: Some sites allow category assignment directly in the flex grid. If you’d like this feature enabled, our team can customize your setup.