News / Blog
The News & Blog Page Type makes it easy to share updates, announcements, and articles directly on your website. Whether you’re publishing press releases, event recaps, or ongoing blog content, this page type helps you keep visitors informed and your content organized.
On the front end, users can browse posts by date, keyword, or category. On the back end, you can easily add, edit, and schedule posts through a flexible and familiar layout.
Creating a News or Blog Page
If you know your website has a news or blog page layout, but you don't have one in your sitemap yet or you'd like to create an additional new or blog page, you can create one from your Page Manager.
-
Click the “+ ” icon to add a new page.
-
Select News from the available page types.
-
Click Save Page.
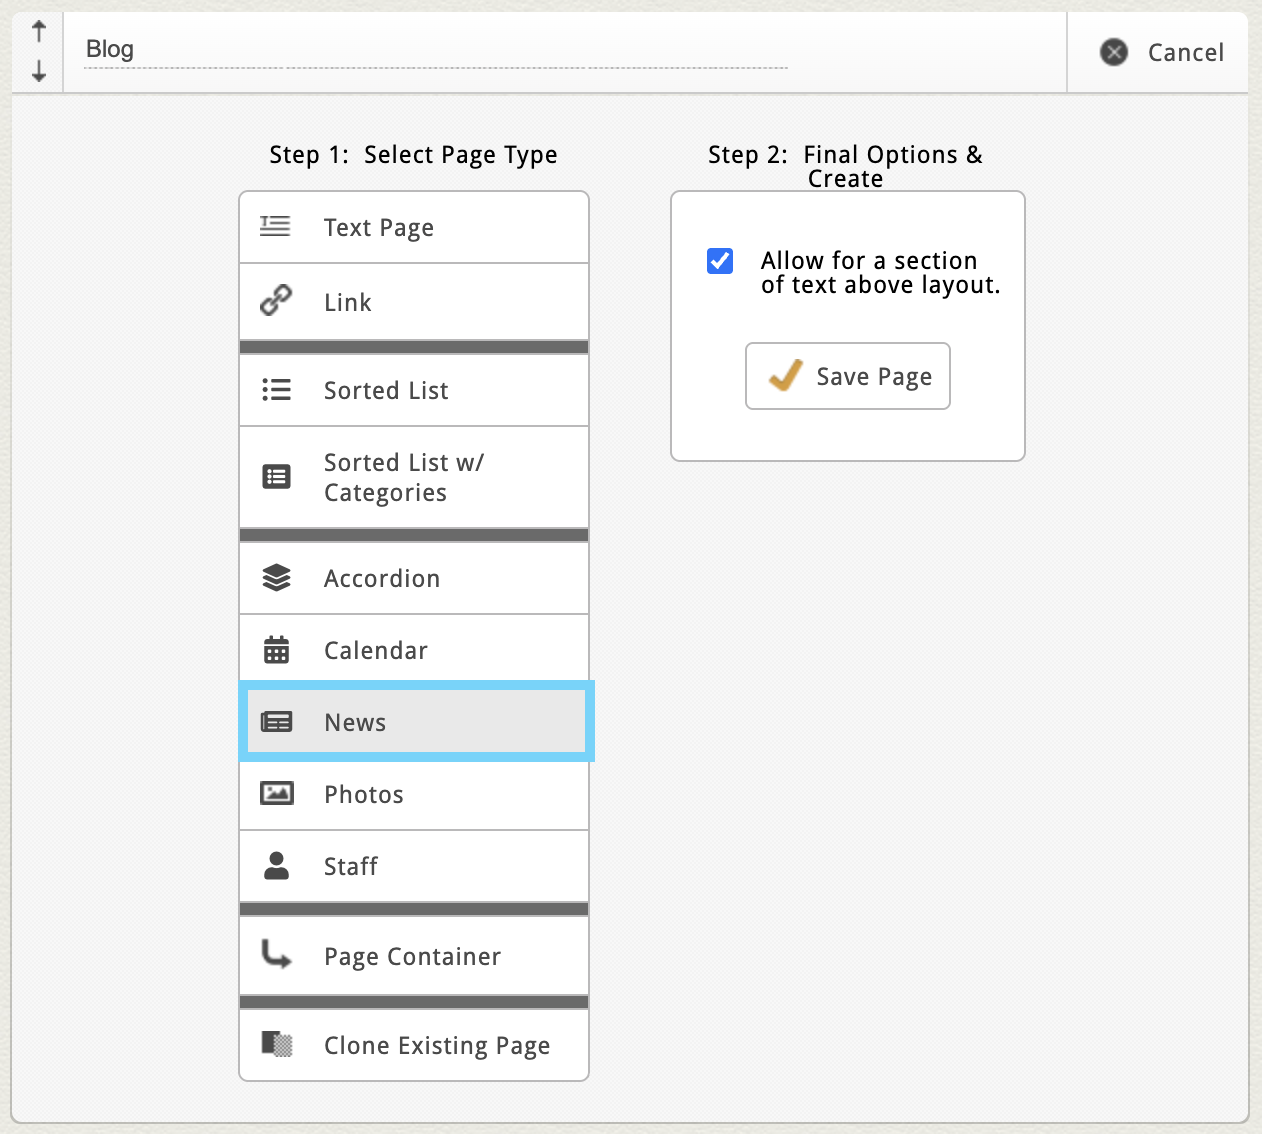
If you don't see "News" as an option, contact clientservices@cynernautic.com to discuss adding it to your site
Once created, you’ll see a few familiar sections:
-
Custom Page Settings – unique to your site’s layout.
-
Introductory Text Area – great for short summaries or intros at the top of your blog.
-
News Block – the main area where your posts live.
If your blog is empty, click the “Add One Now” link or the “Add New Post” button in the top-right corner to begin.
Adding a Blog or News Post
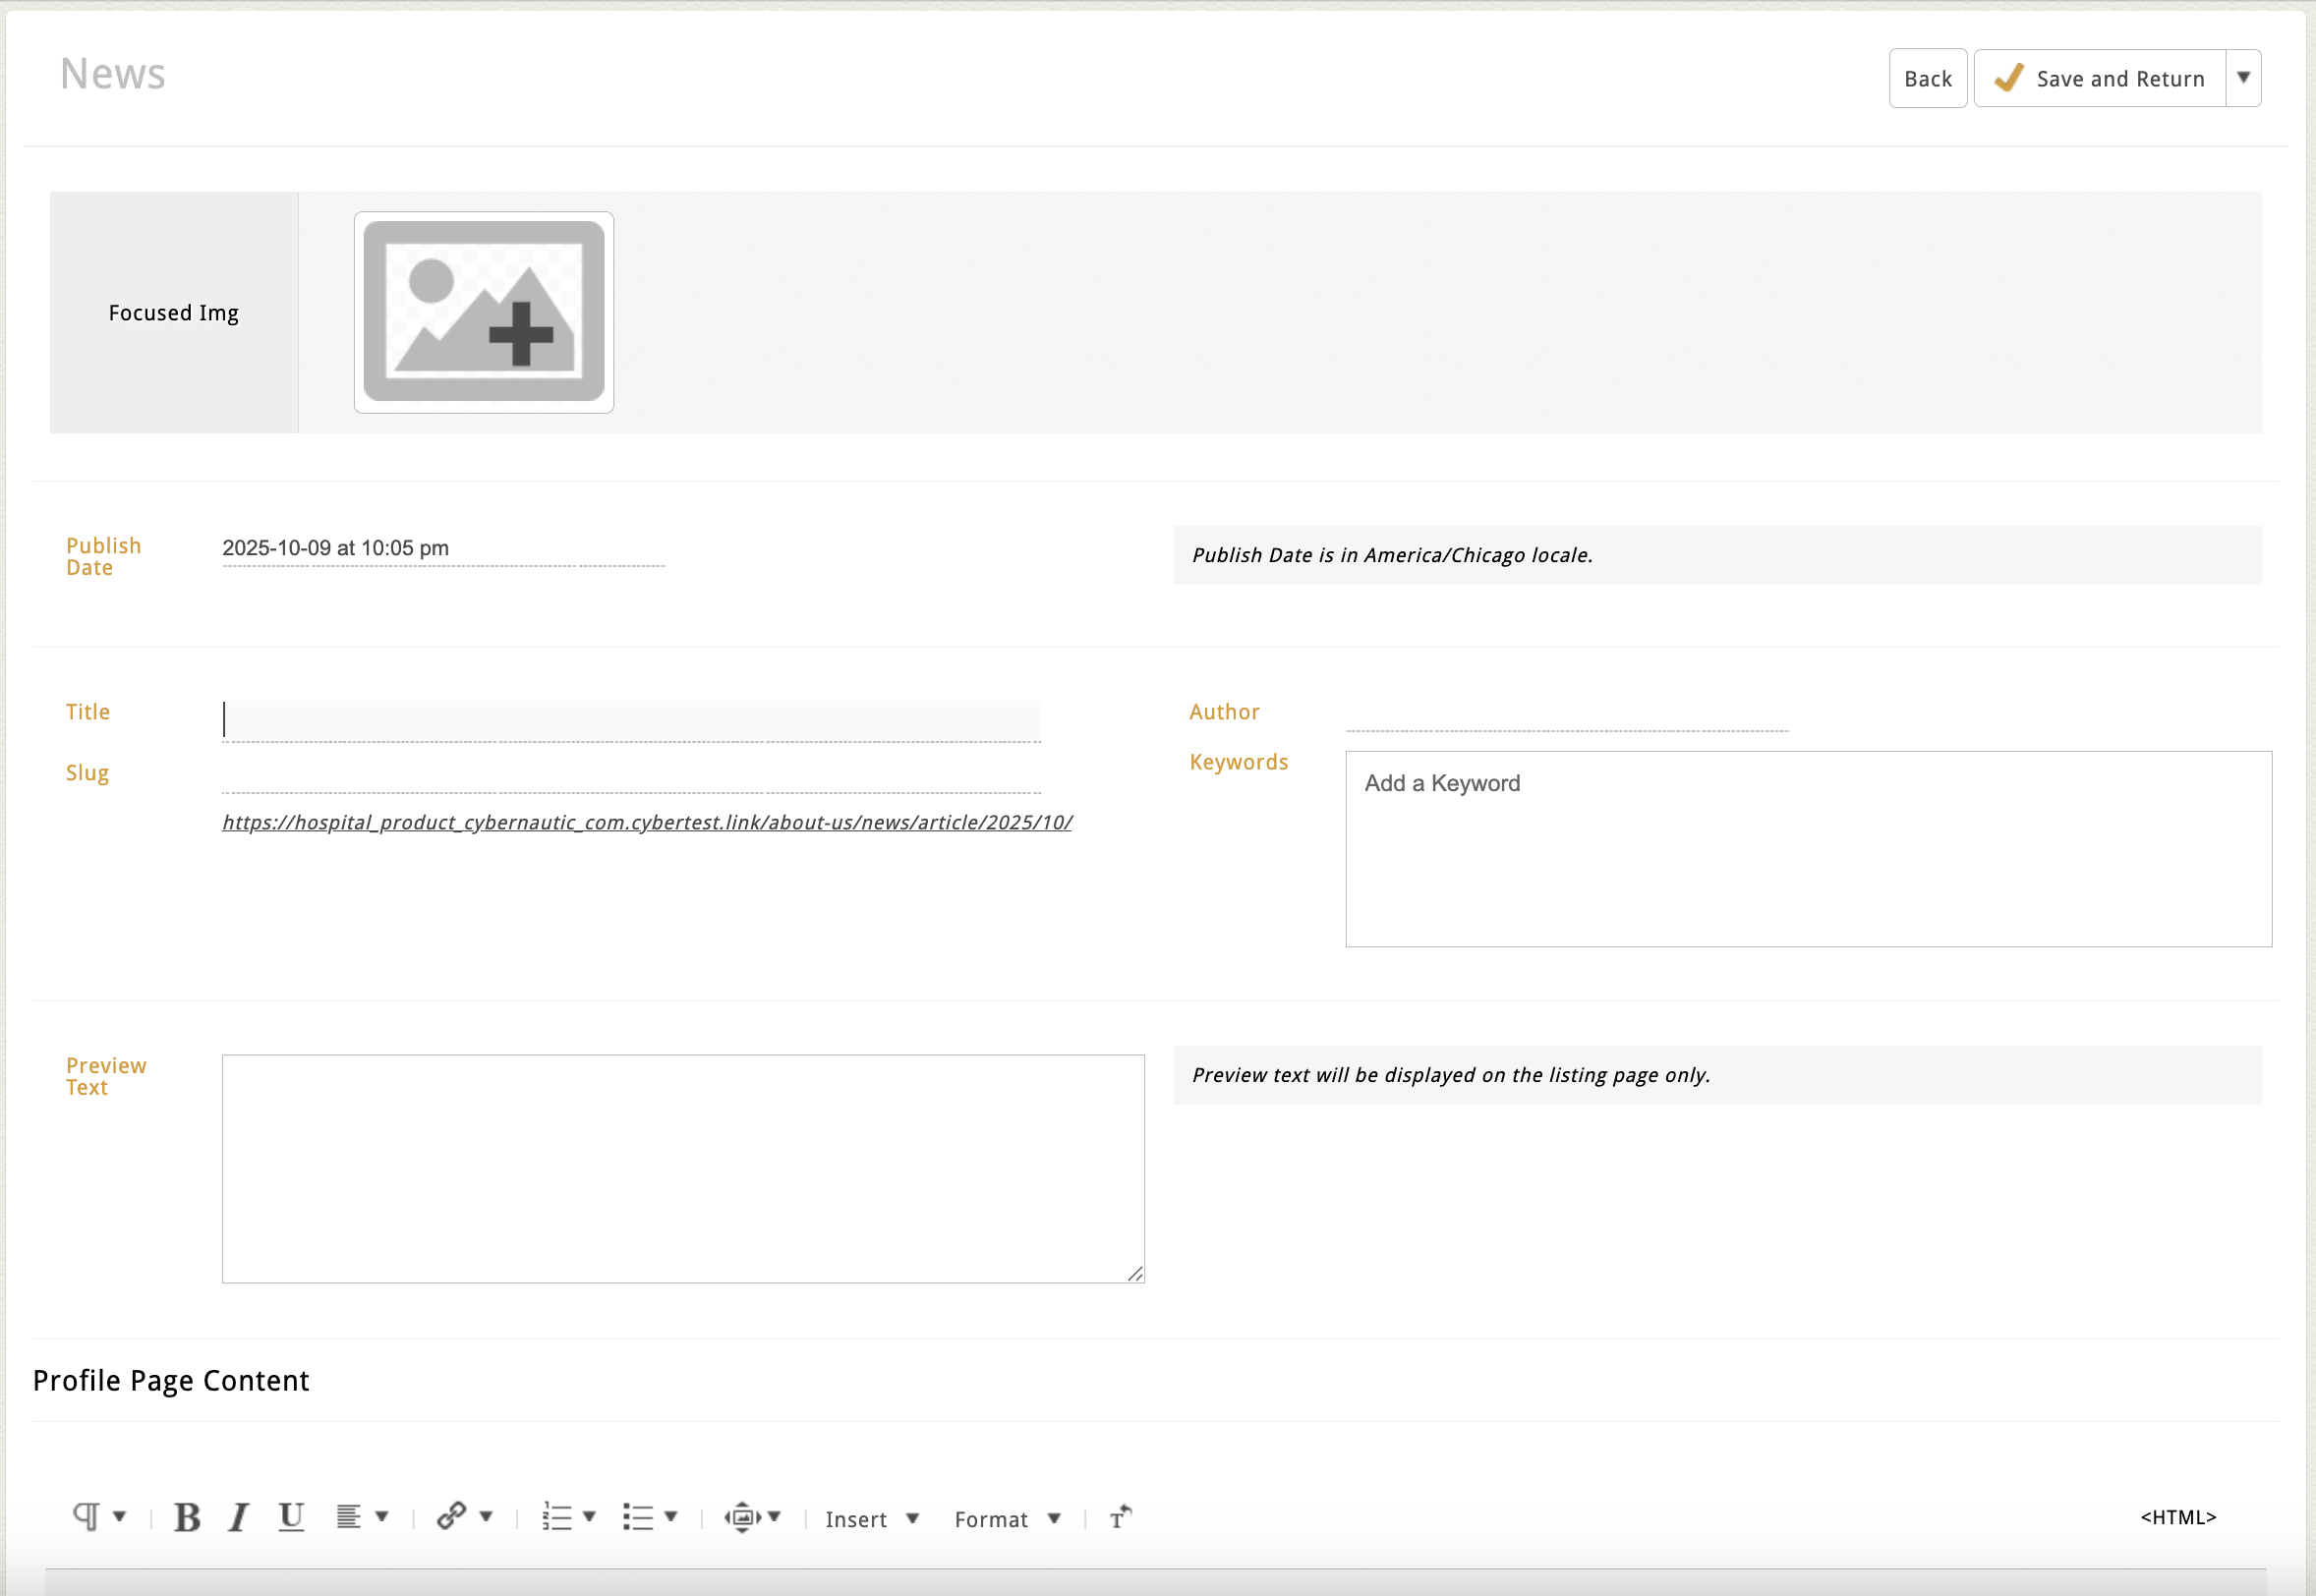
When you click Add New Post, you’ll open the Post Edit Screen.
Most blog posts include the following fields:
-
Post Image – Click the image icon (+) to open your File Manager. Select or upload an image, then click Use.
-
Publish Date – Automatically fills with today’s date but can be adjusted.
-
You can set a past date to backdate older posts or a future date to pre-schedule a post.
-
Posts won’t appear live until their scheduled date and time.
-
-
Title – The main headline for your post.
-
Slug – The URL path for your post, automatically generated from the title.
-
Author – Optional field for naming the writer or department.
-
Keywords - Optional field for tagging your post with topics. May be entered as a comma separated list or in a tag block
-
Preview Text – A short teaser or summary that displays on the main listing page.
-
Dynamic Text Area – The main body of your article. You can add formatted text, photos, videos, links, and more.
Note: This layout isn't intended for event management. Use the Calendar Page Type for that.
Once your post details are filled in, click Save and Return to save or schedule your post.
Managing Posts in the News Block
After saving, your post will appear in the News Block Flex Grid. This grid makes it simple to manage multiple posts at a glance.
From the Flex Grid, You Can:
-
Edit Inline: Click directly into a field (like title or preview text) to make quick updates. Click outside the field to save—watch for the brief orange flash confirming autosave.
-
Hover to Reveal Action Icons:
-
Edit (Pencil Icon) – Opens the full edit screen.
-
Delete (Trash Can Icon) – Removes the post entirely.
-
Clone (Double Rectangle Icon) – Duplicates a post for reuse or quick editing.
-
-
Filter or Search:
-
Use the Publish Date Filter dropdown to view posts by month and year.
-
Use the Search Field to find posts by title, keyword, or author.
-

Tip: Posts are automatically sorted by publish date (most recent first).
Additional Settings
Some News Blocks include an Additional Settings section near the bottom of the page.
These options vary by site but may include:
If your site doesn’t include these settings but you’d like to customize them, contact clientservices@cybernautic.com.
News & Blogs with Categories
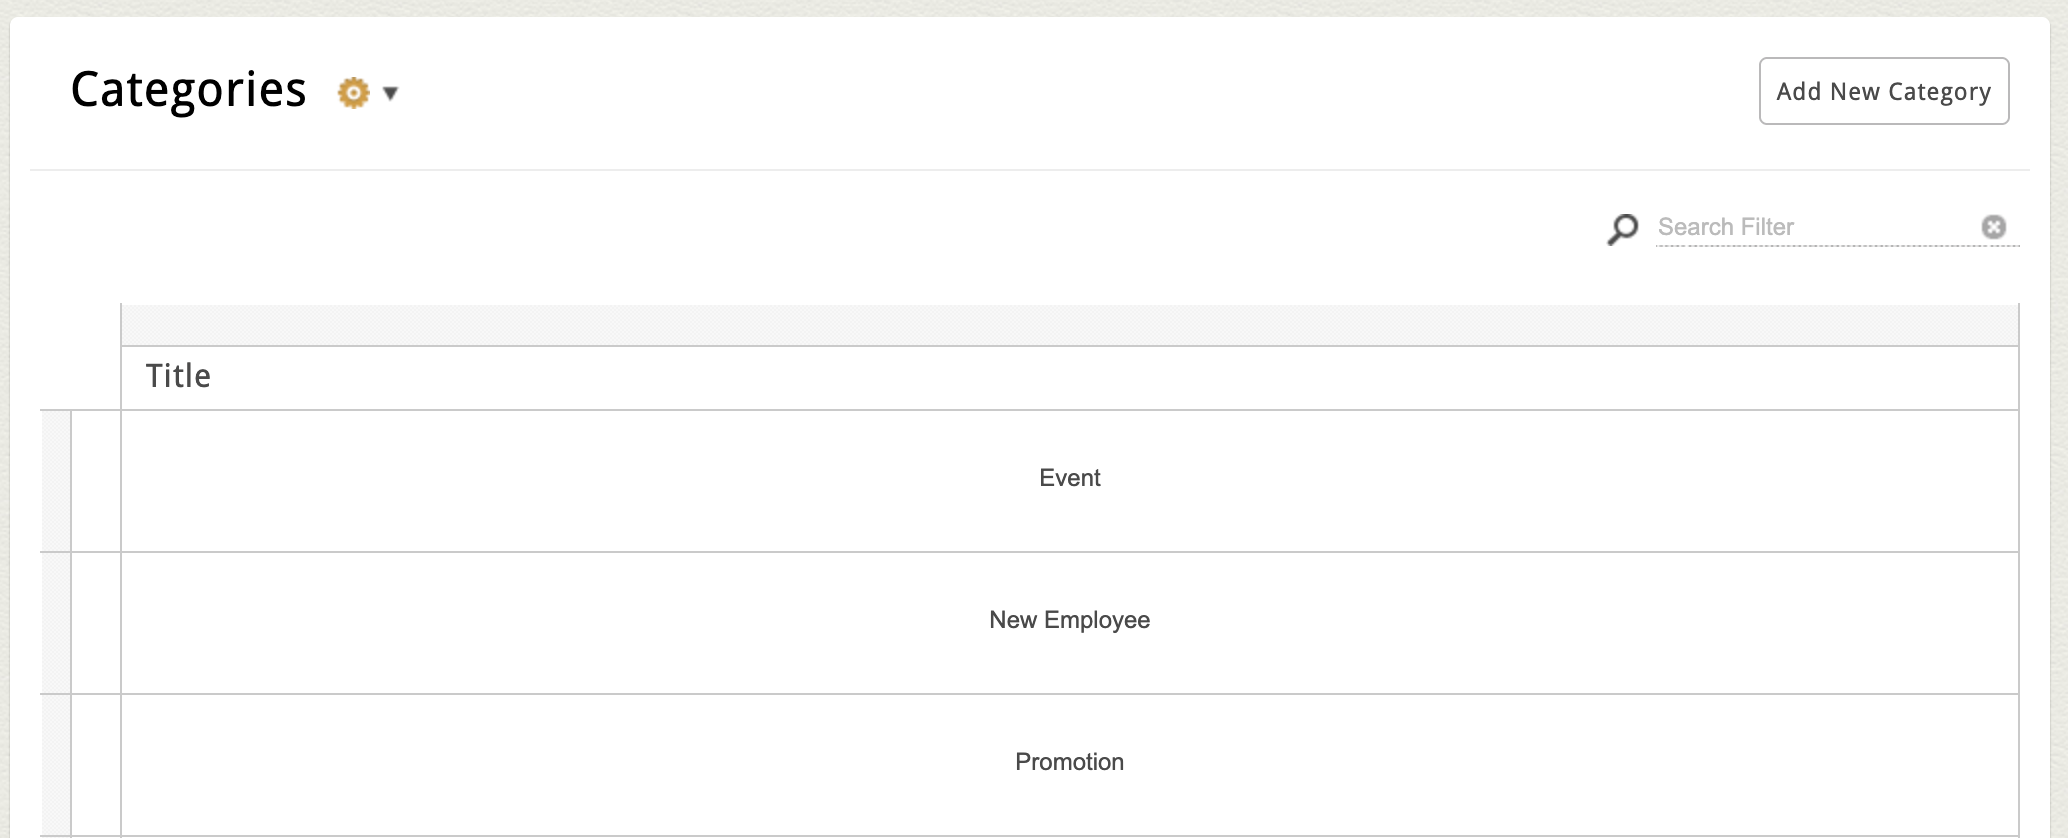
Some News or Blog pages include the ability to organize posts by Categories. If your site supports Categories, you’ll see a second block labeled Categories below the main News Block.
For a new page, categories are typically added with a Title only.
For example, you might create high-level blog categories like:
-
Press Releases
-
Community News
-
Tips & Insights
Add a New Category
Note: Because blog posts are already grouped by month/year filter in the flex grid, you'll only find the category assignment in the post's main edit screen.
To add a category:
-
Click the Add New Category in the top-right corner of the Category Block.
-
Enter your category title (and any other required fields).
-
Click Save and Return.
Assign a Category
After saving a new category:
-
You’ll see it appear in a Category Dropdown within both the flex grid and each post’s edit screen.
-
To assign or reassign a category, open the post’s full edit screen, select the appropriate category, and click Save and Return.
Tip: Some websites allow category management directly in the flex grid. If you’d like this option enabled, reach out to our team.
Example of Category Dropdown in the Flex Grid: 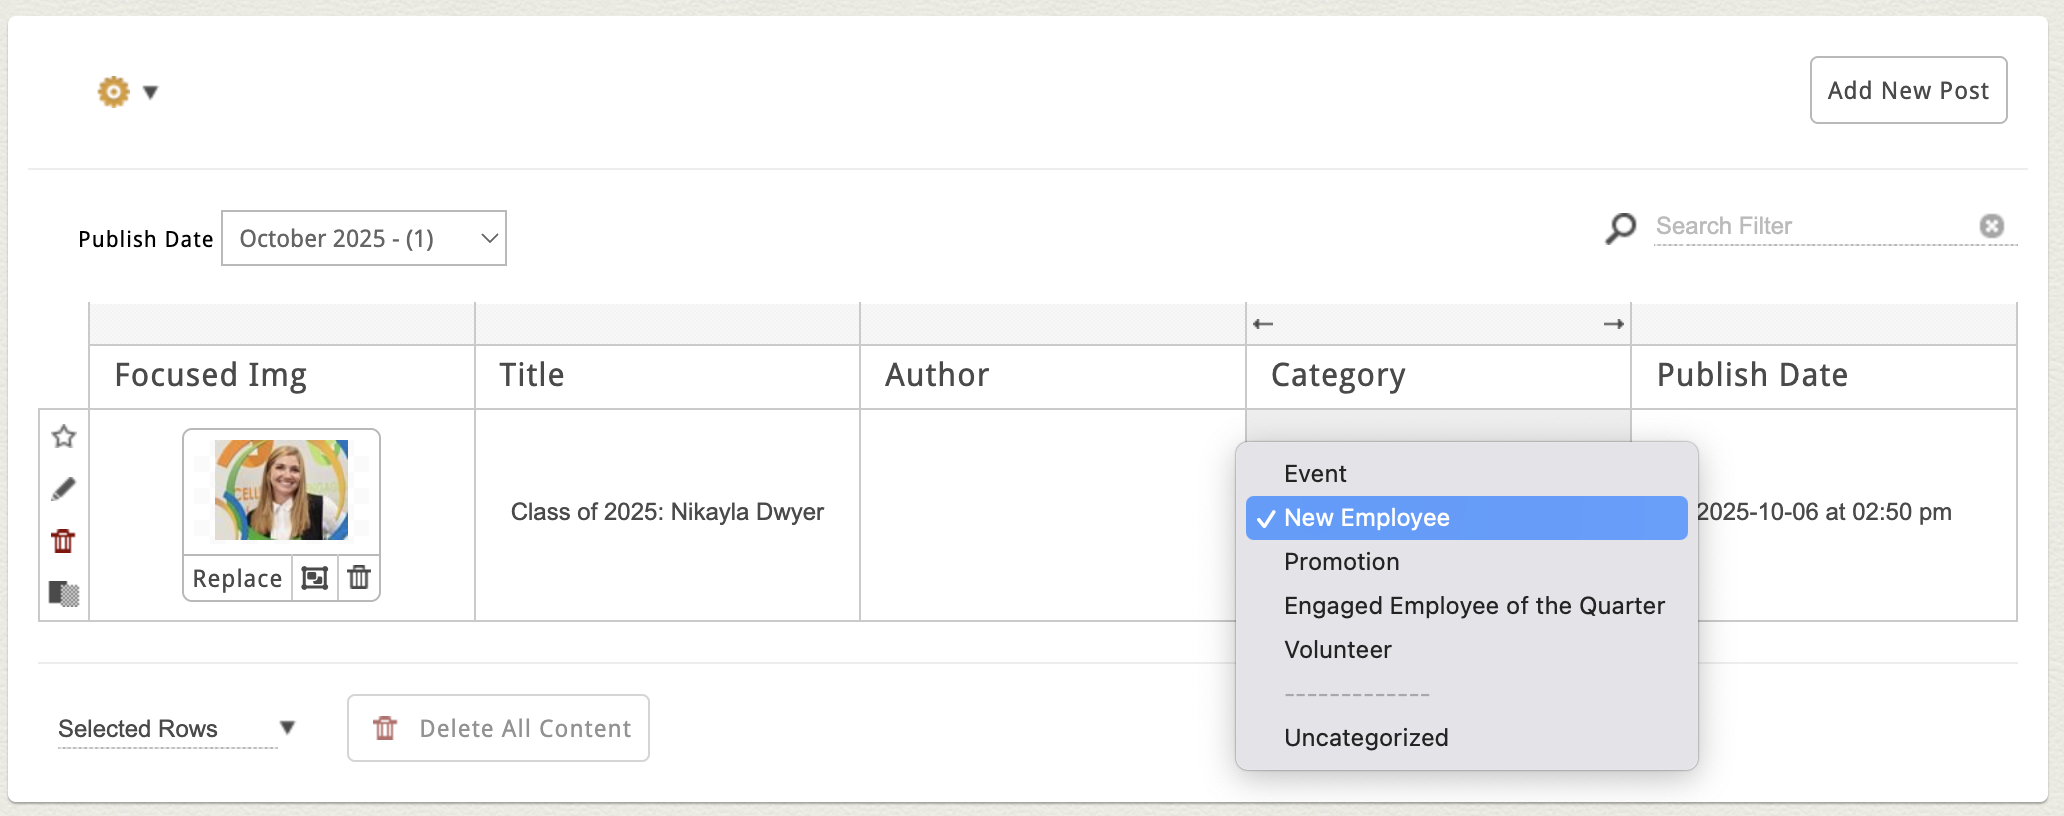
Example of Category Dropdown in Post Edit Screen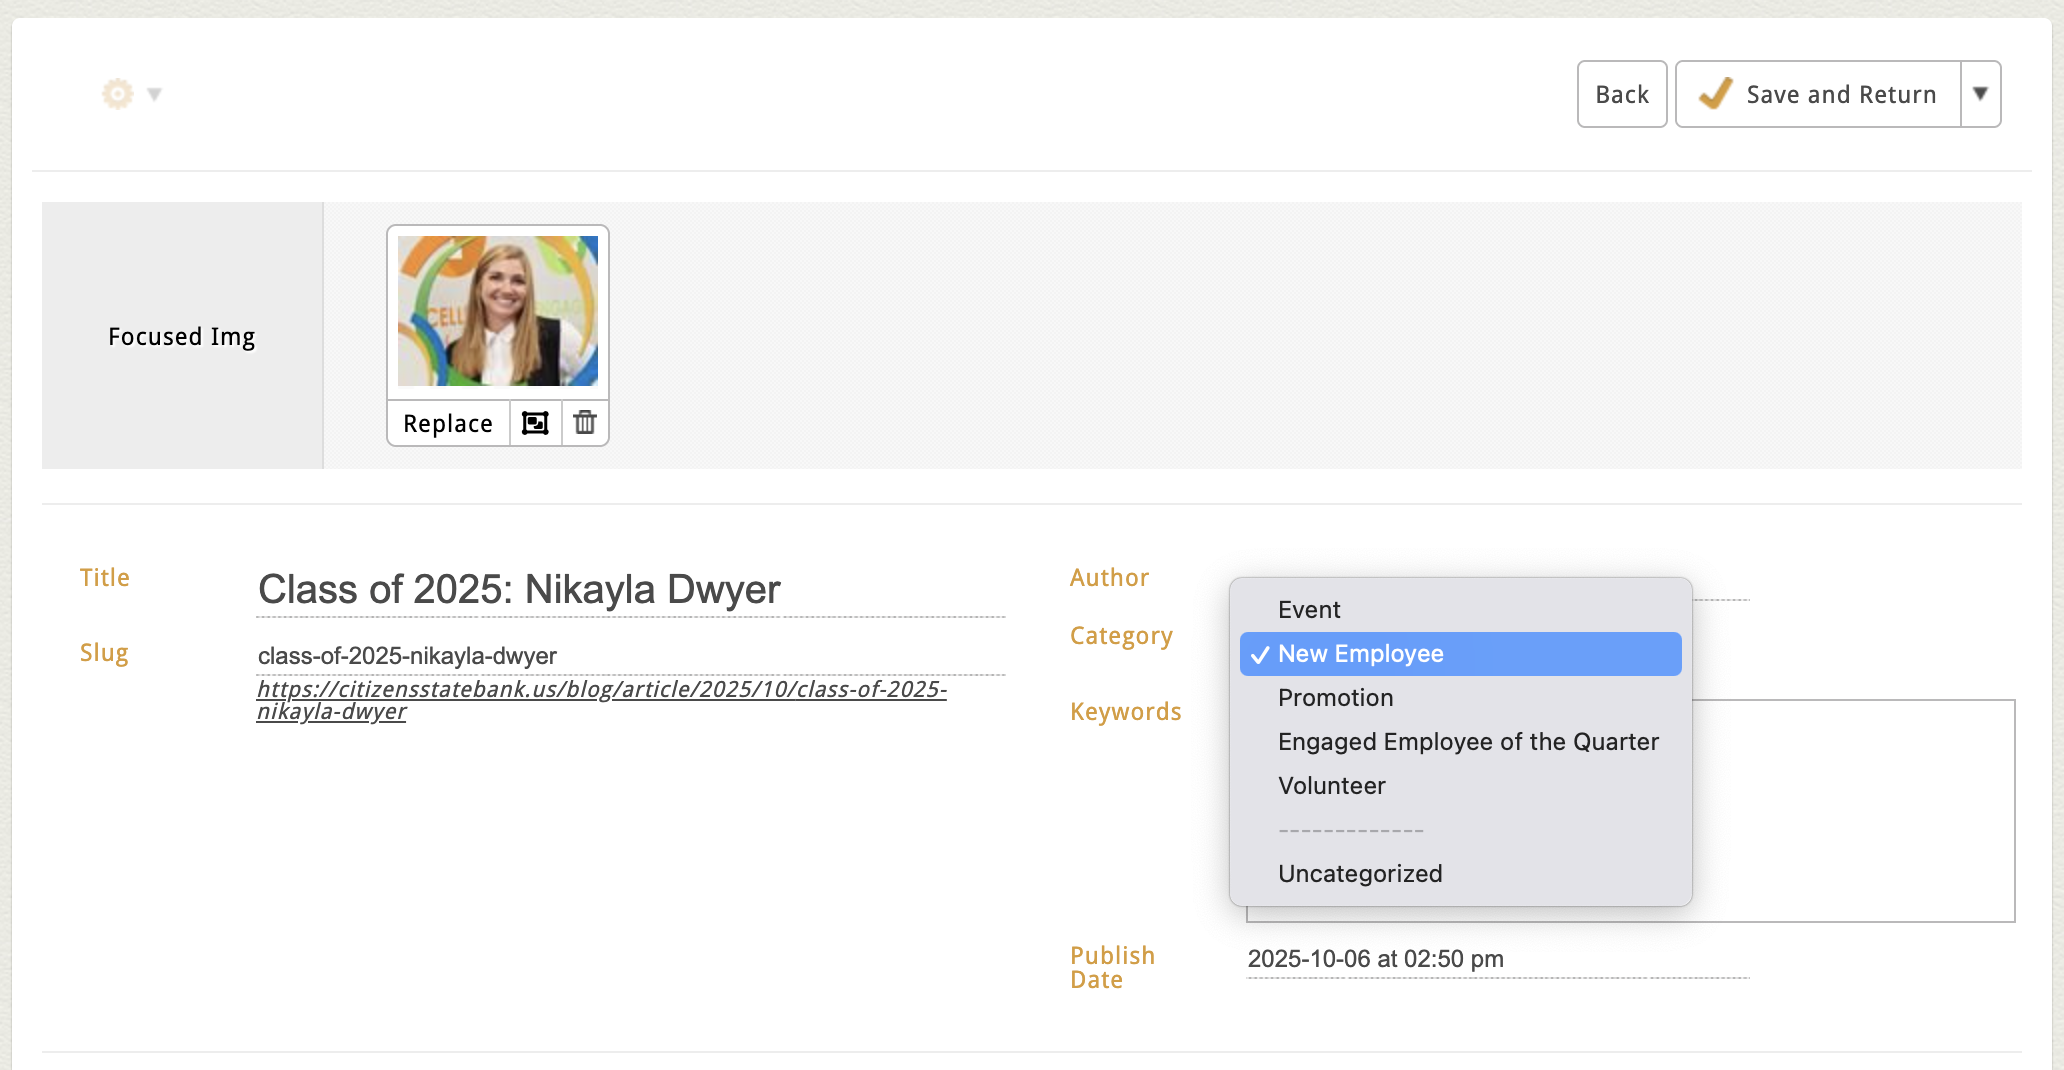
Categories vs. Keywords
You may notice both Categories and Keywords (or “Tags”) available in your News or Blog Page Type. While they function the same technically (both can be used to filter and group posts), their purpose and best practices are slightly different.
Categories
-
Use these for high-level groupings or content types.
-
Think of them as broad “buckets” that define what kind of post it is.
-
Examples: Press Releases, Updates, Announcements, Insights
-
-
We typically recommend assigning only one category per post to keep your content structure clean and consistent. Most categorized blogs will enforce this limit automatically, but if you need the ability to assign more than one category to your posts, reach out to discuss your options.
Keywords
-
Use these to highlight specific topics or themes covered in the post.
-
Examples: Community, Awards, Events, Renovation, Education
-
-
Keywords are more flexible—you can assign multiple per post to help readers and search tools surface related content.
In short: Categories define your content’s “type.” Keywords describe what it’s about.
Front-End Features
On the live site, your blog or news feed typically includes:
-
Reverse Chronological Order – Newest posts appear first.
-
Sidebar Archive – Allows users to browse posts by month or year.
-
Keyword or Category Filters – Let visitors view only the topics they care about.
These tools make it easy for your audience to find and engage with relevant content.
